Hand-crafted Leather Forkboots
Replacing the Tin Fork Kit with Something More Rustic
One of the things about the bike that's bothered me slightly has been the tin fork kit that sits behind the headlamp. One of the best looks the front of a motorcycle can have is the exposed springs of the classic forks of the same name. Part of the reason for this is the clean, open lines. The tin box you get with stock Softail Slims is essentially the aesthetic opposite:
The solution to this problem is clear.
Removal
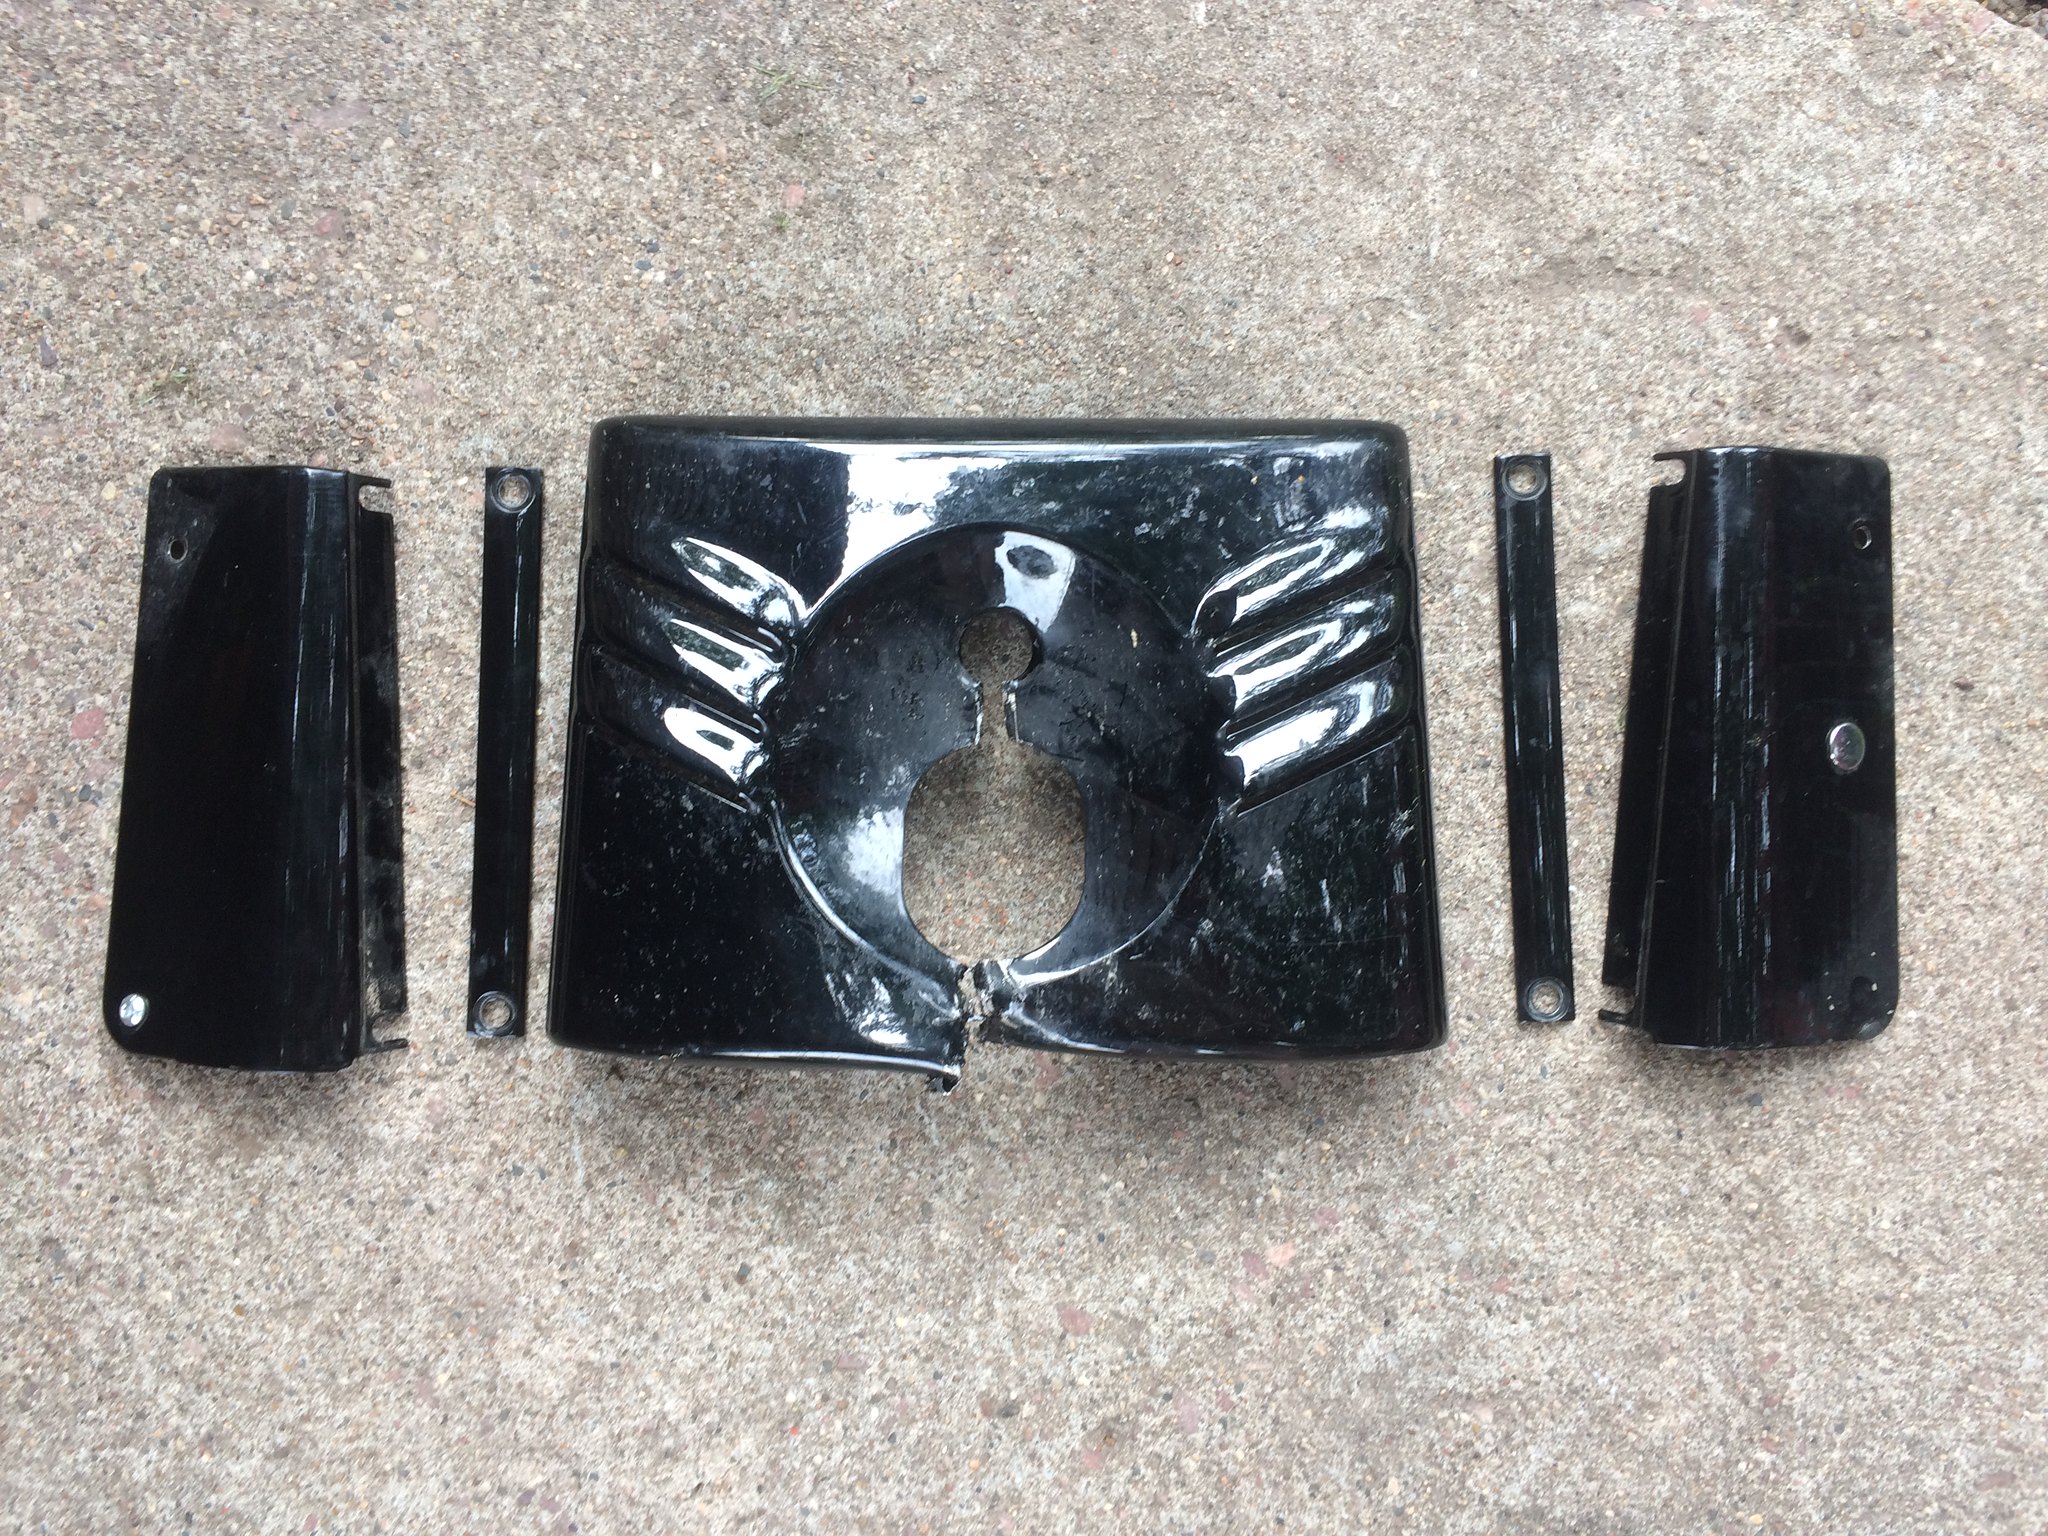
So, the smart way to do this would have been to look in the service manual. Had I done this, I would have read how when you take apart the lamp assembly, you can access and remove the rubber boot where the wires come in, and then detach the wires.
Instead, it seems the year and a half of having to look at the tin box took it's toll, and out came the bolt cutters and large needle-nose pliers. Witness the carnage:
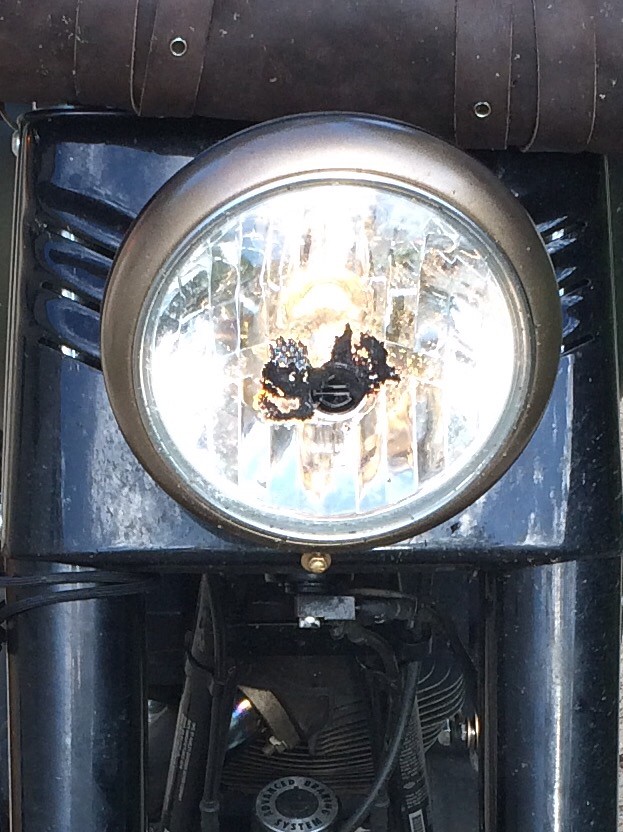
I was instantly delighted with the results, too:
Who knows why they choose to cover that up. Perhaps protection from the elements? Maybe the hydraulics need more of that than the springs of old?
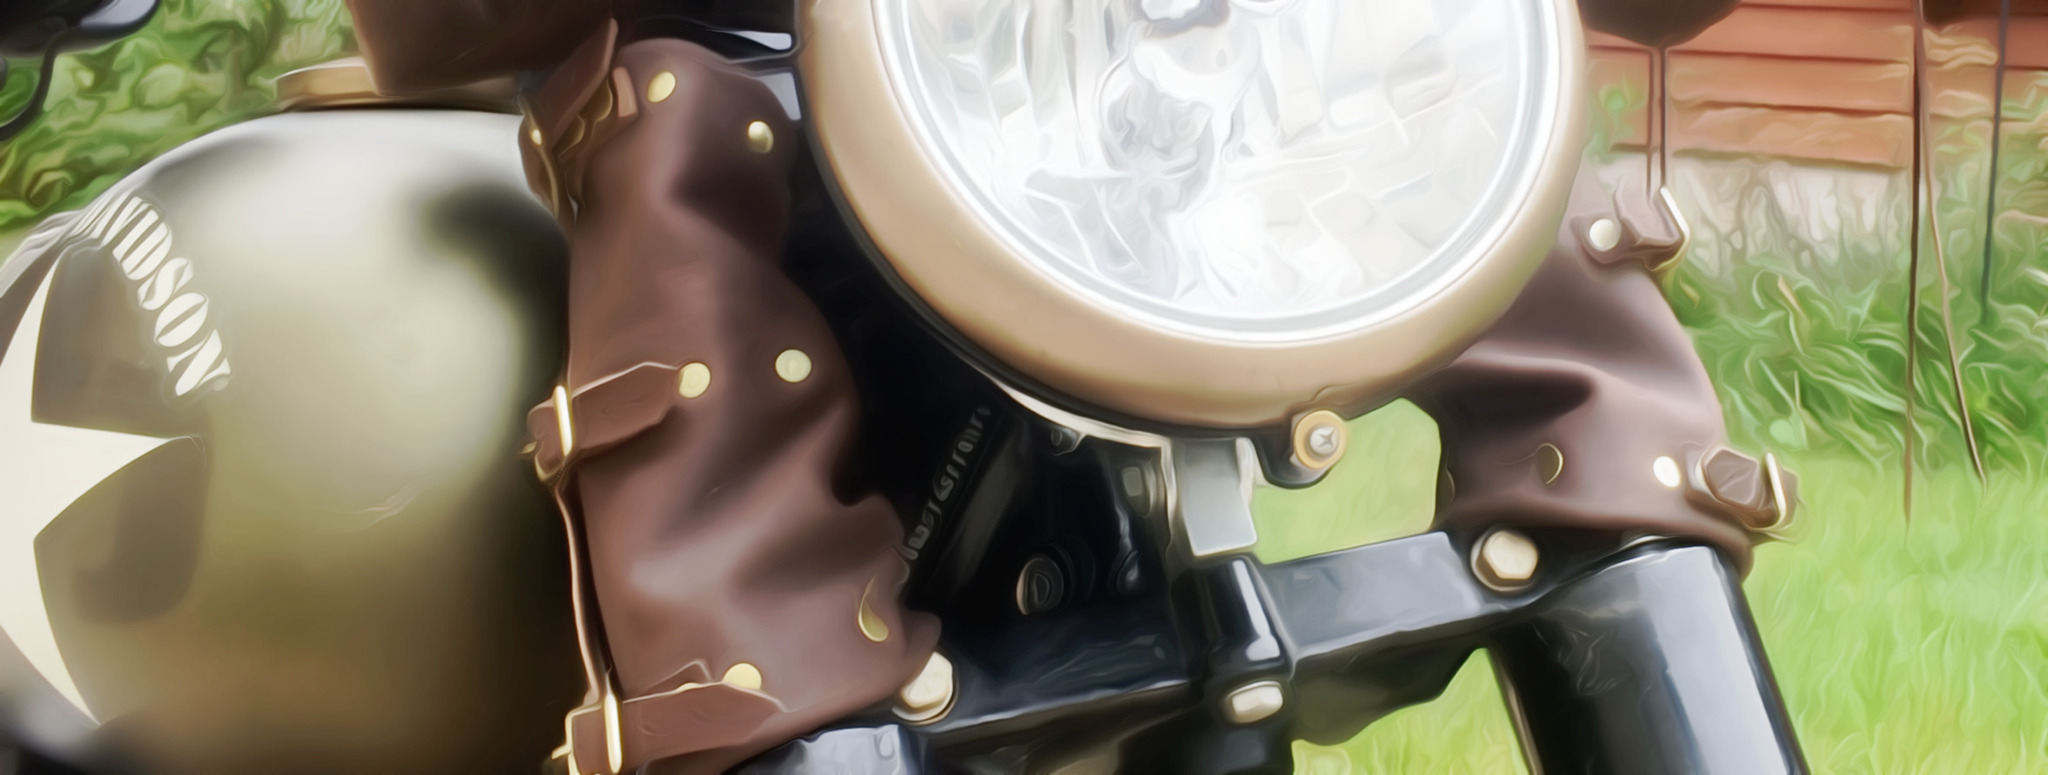
Anyway, I loved the cleaner look. However, the exposed bolts weren't looking so great, and I was a little concerned about the grime collecting more thickly on the exposed hydraulics (when I took the box off, they badly needed cleaning) ...
What do to? Well, given the forkbag above the lamp, the handle grips, and the ECM cover I made, this was a no-brainer.
Preparation
After some pondering and lots of staring at the forks and headlamp, I did I quick sketch of what had come to mind:
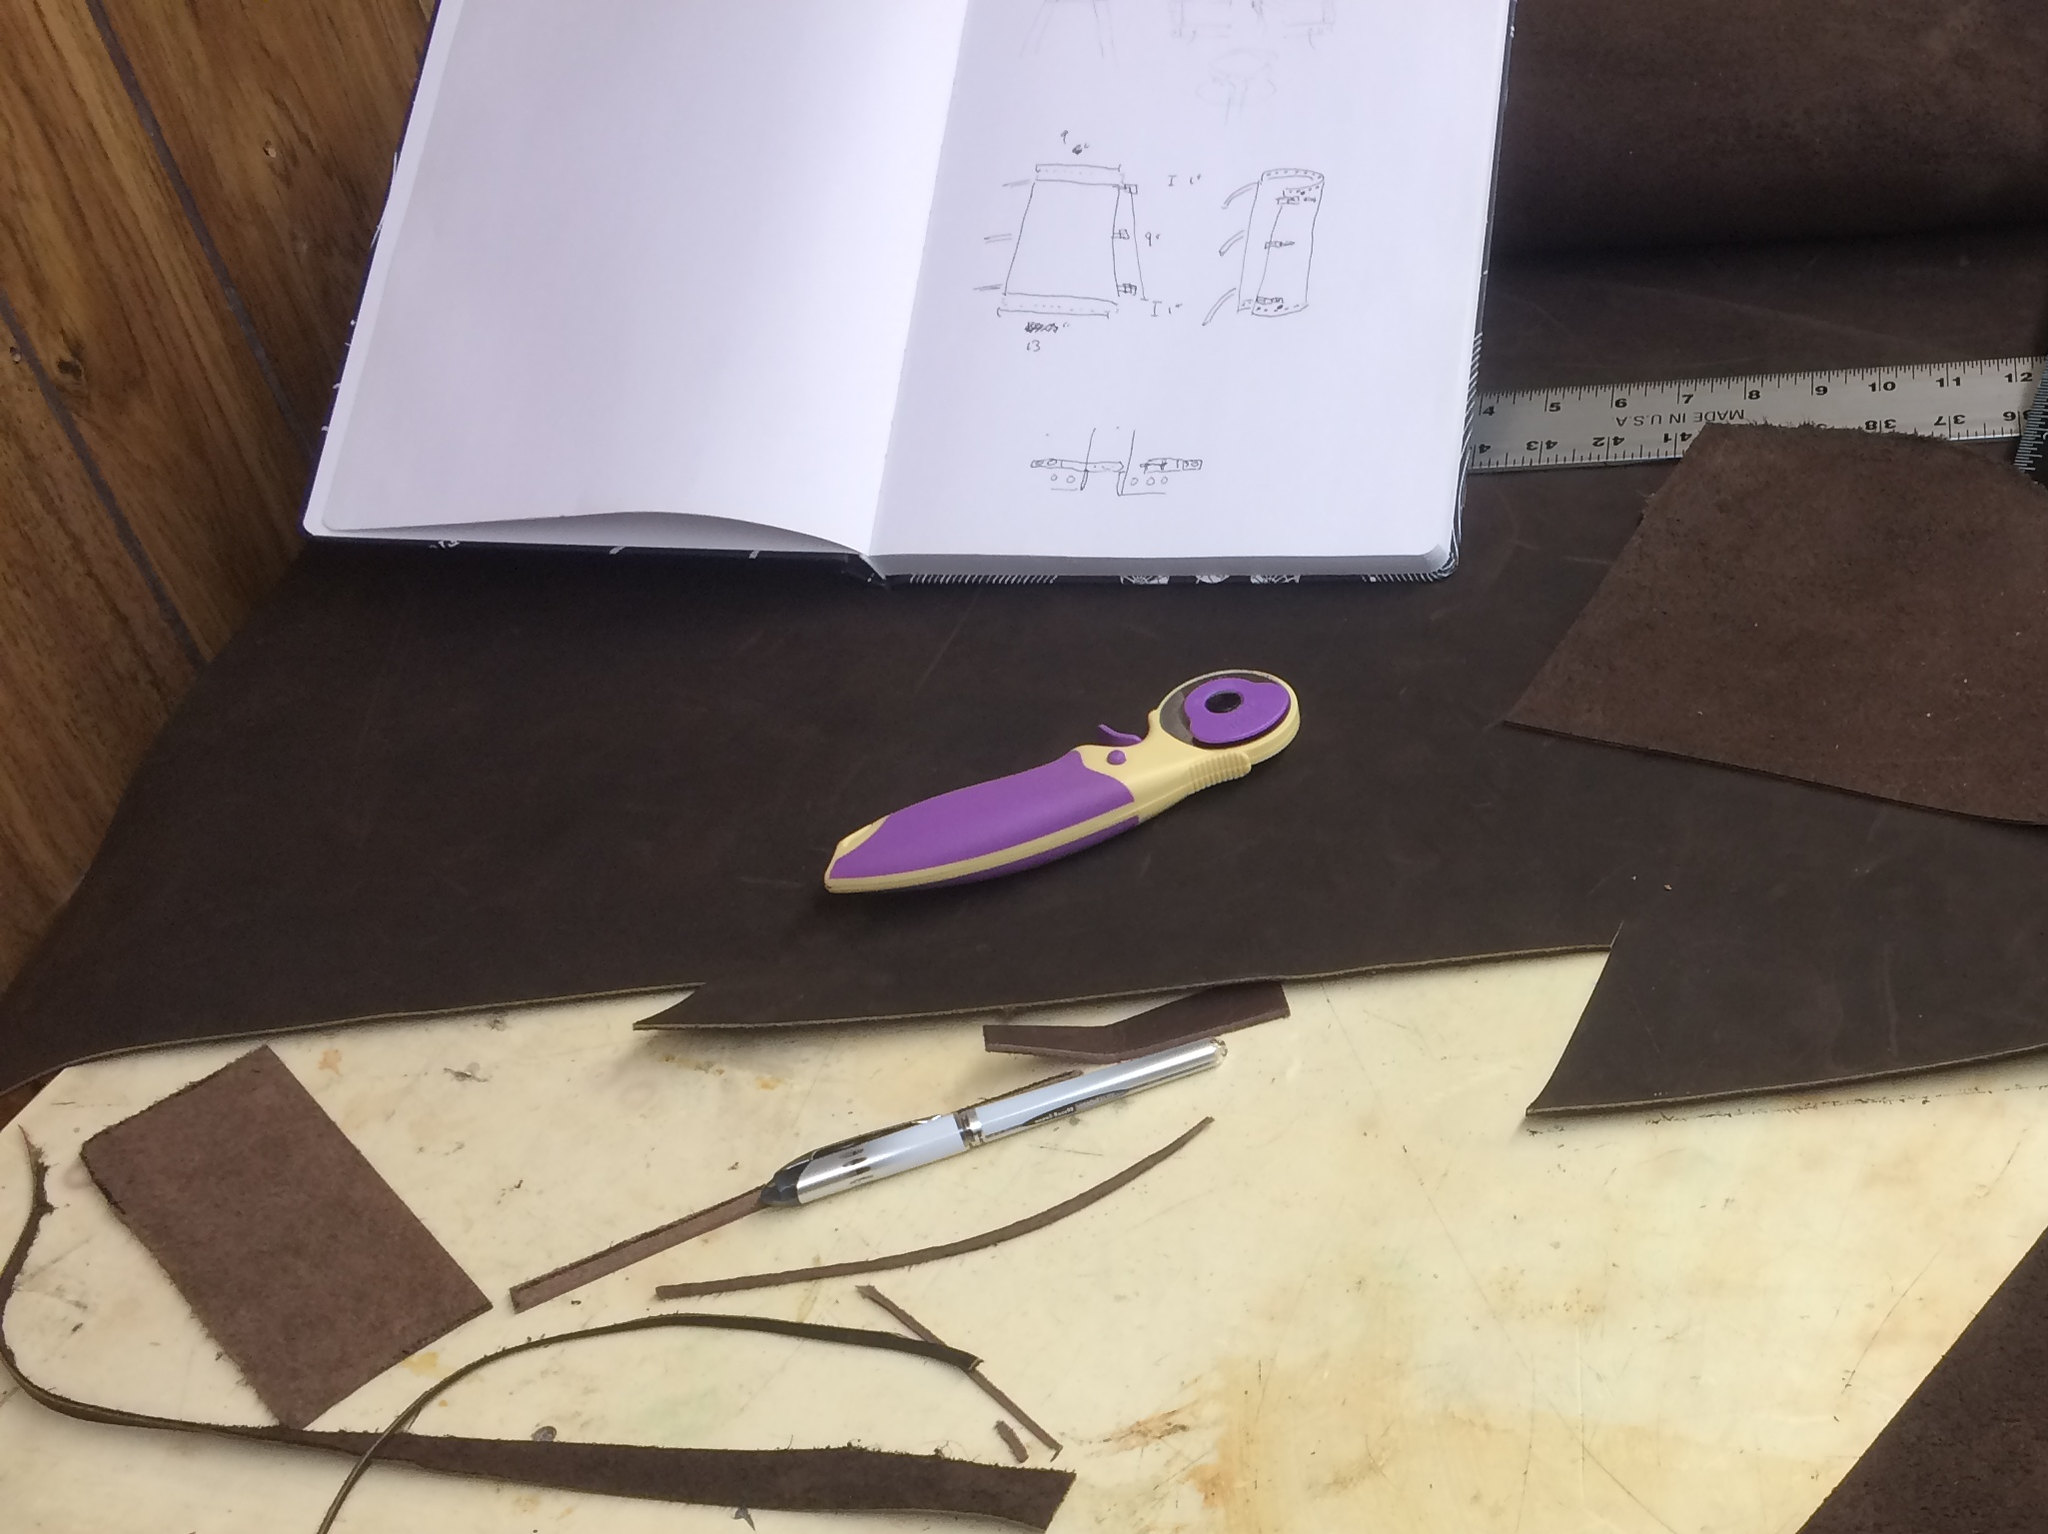
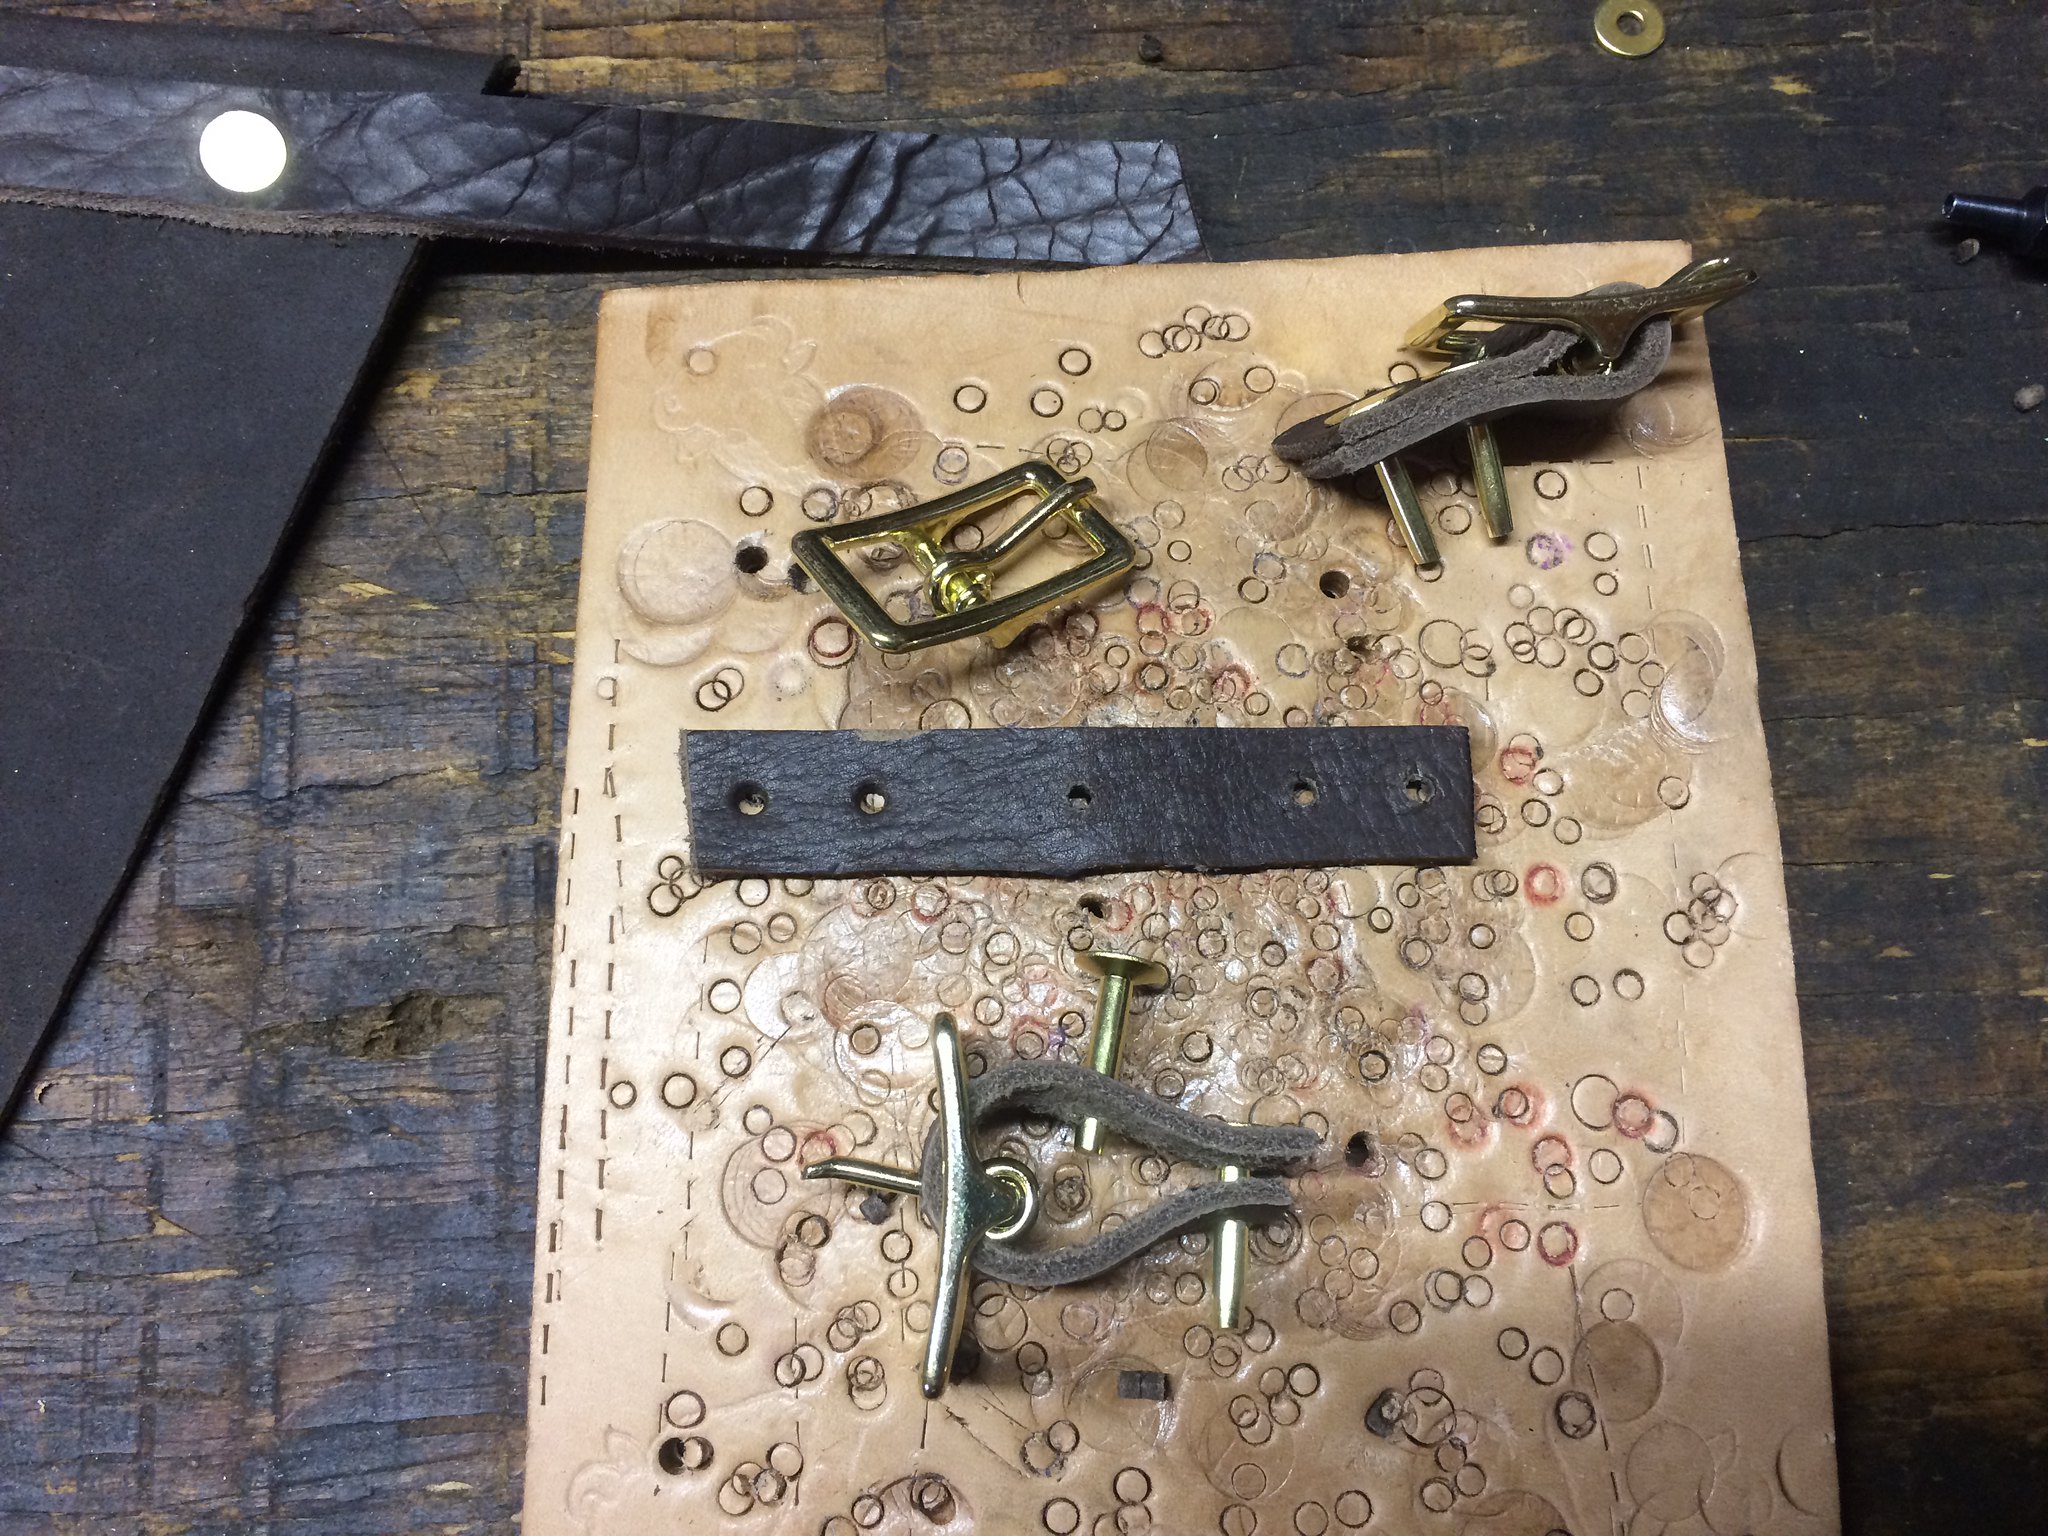
This seemed like a pretty trivial project, and for the most part, it was. A few cuts, and a visit to the local Tandy leather store for some brass buckles, and I was off and running:
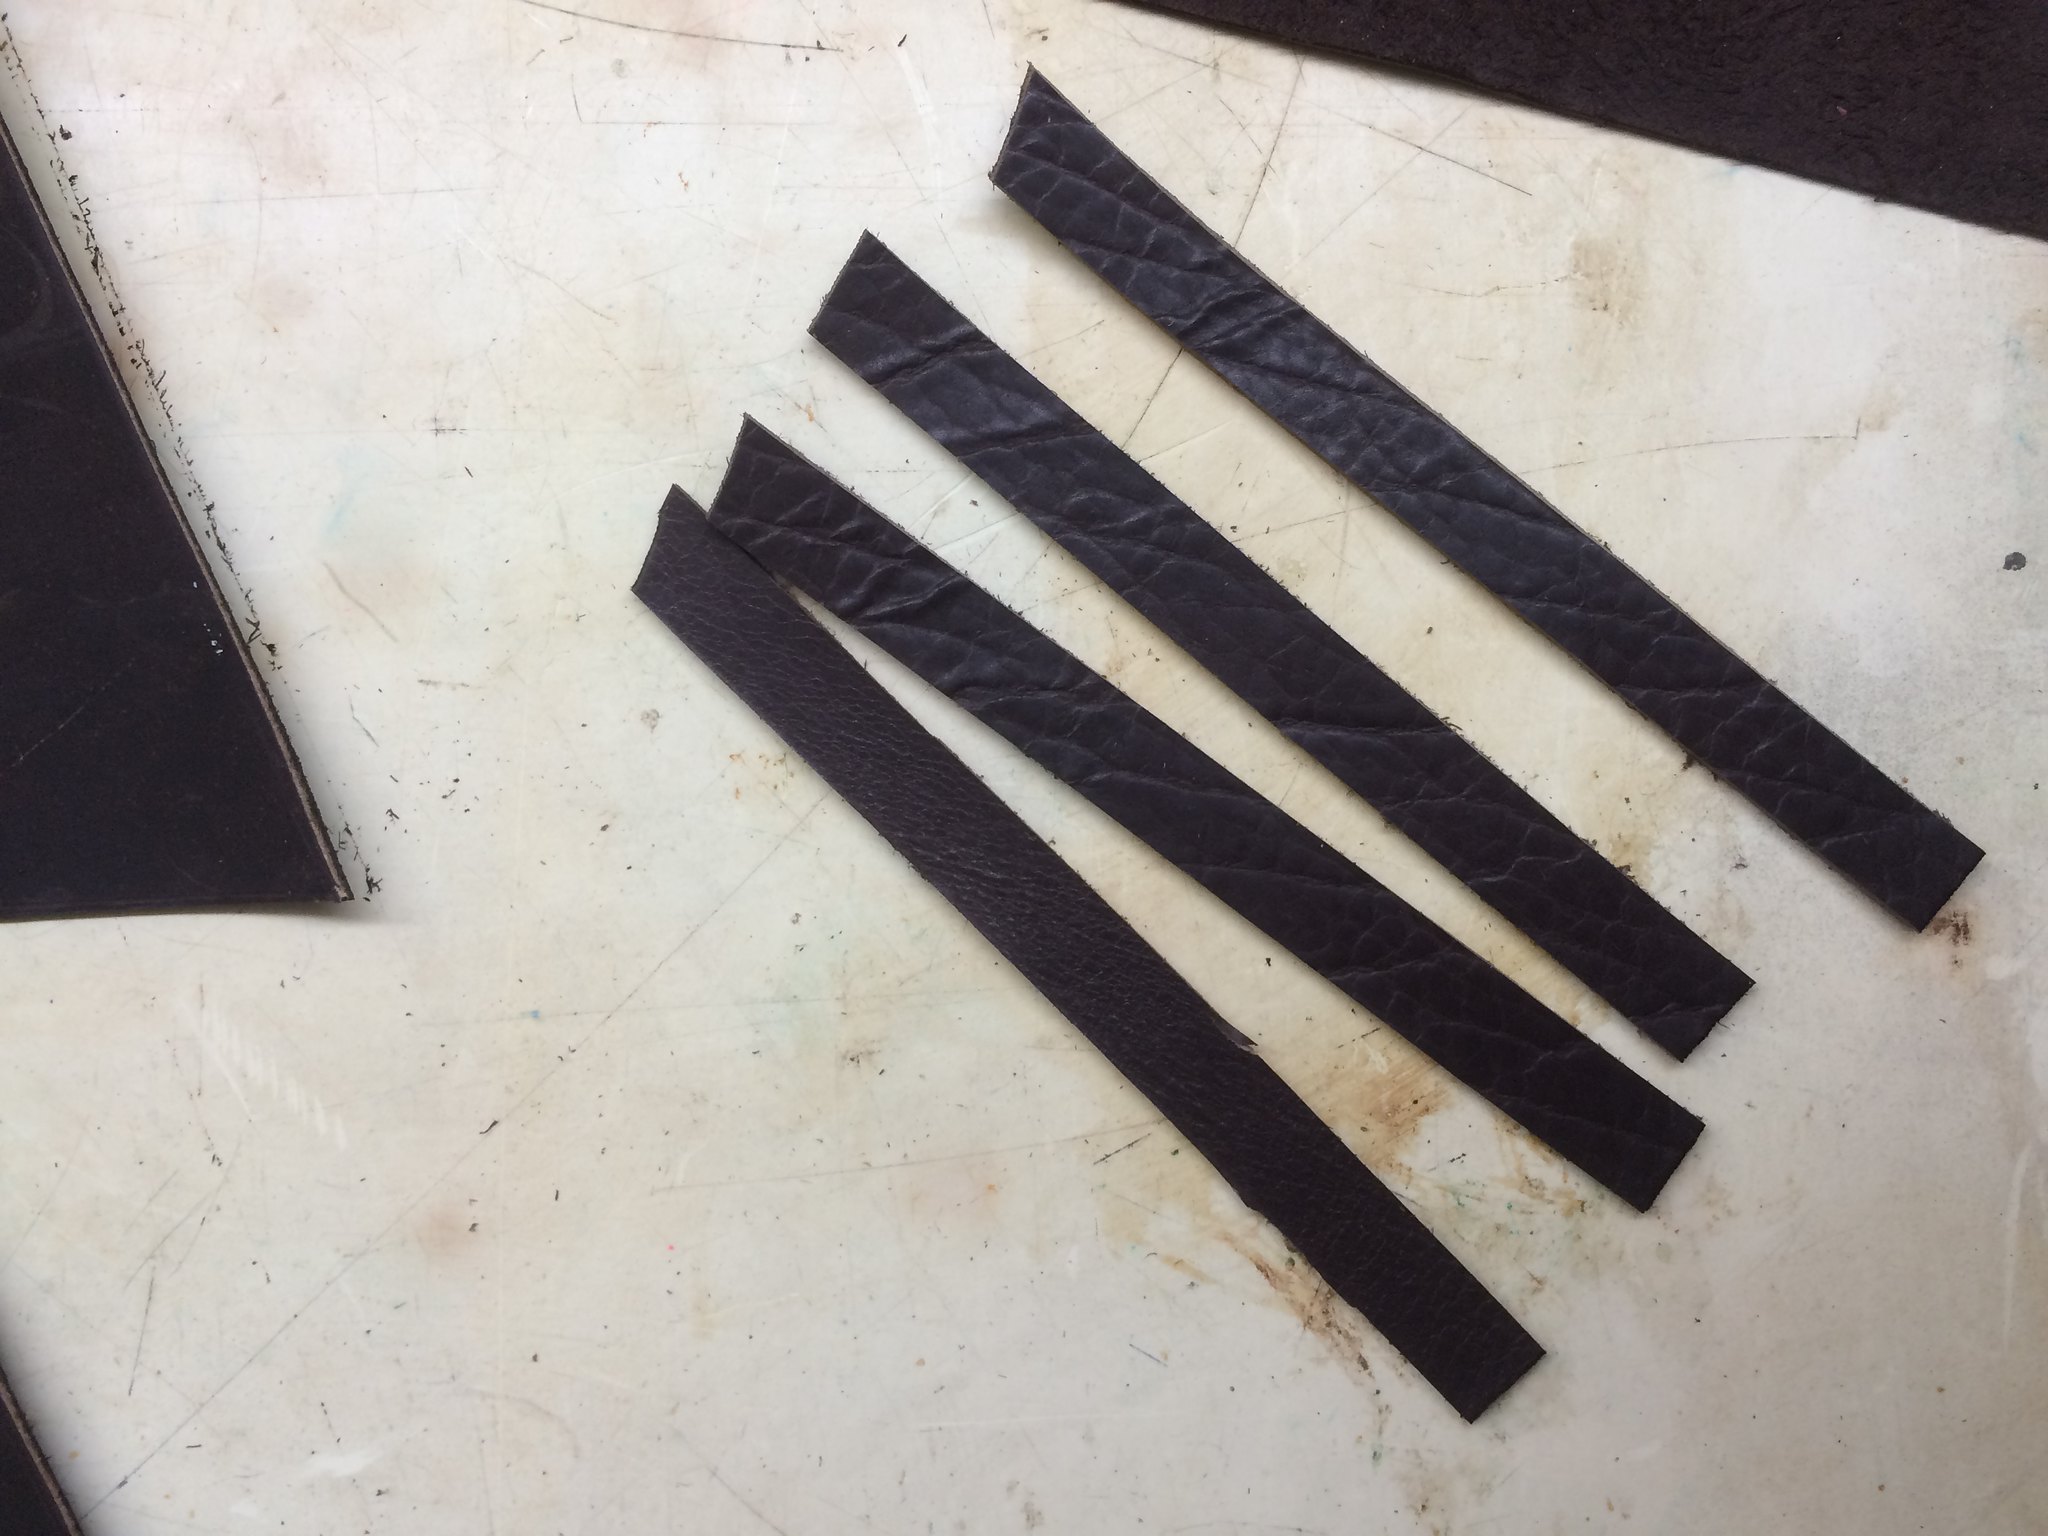
There are just four straps picture above, but each side would need a total of five:
- three for the actual straps, and
- two more to be cut in half to make the attachments for the brass buckles.
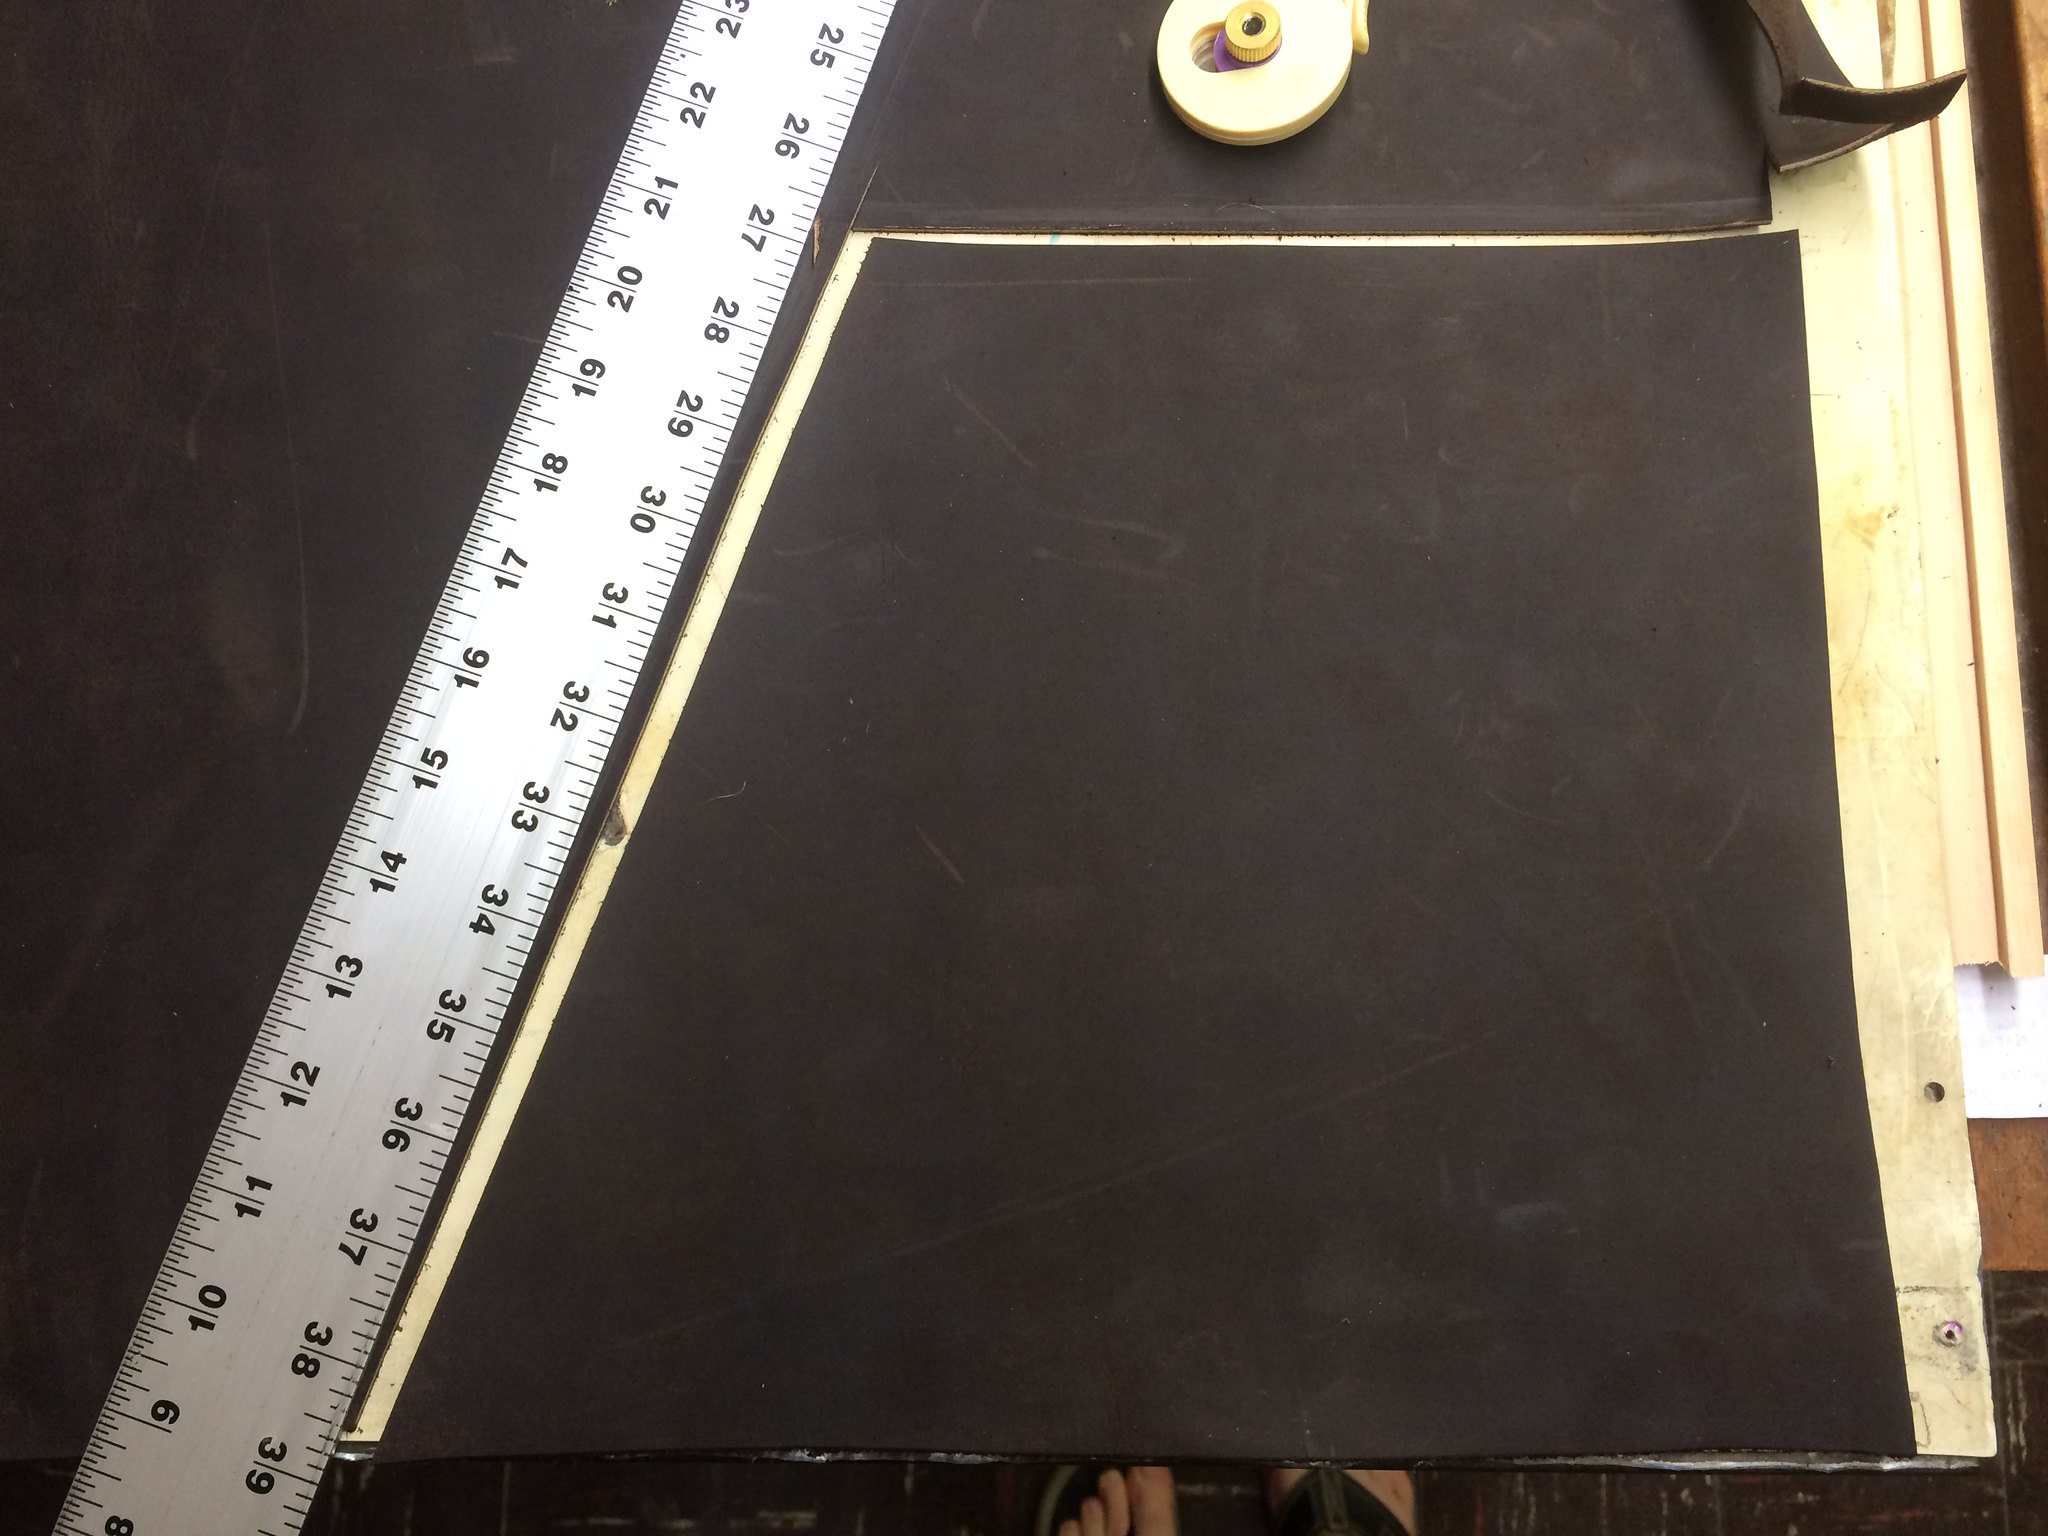
While this was a pretty simple project, it still didn't got quite as planned. The first cut I made for the right boot ended up being too small: through the leather did wrap all the way around the forks, it didn't leave enough of an overlap to fully protect from the weather. Vertically there wasn't enough leather to make a secure attachment (using the hex screws that held old cover in place): I was going to need to fold over the edge and rivet that down to provide enough material strength to support the stretching and the screws. So I went back to the cutting board.
Then when I went to cut the left fork boot, I didn't think it through: I needed the mirror image of the cut for the right boot, but instead I just copied it. So that was another one I had to redo.
Assembly
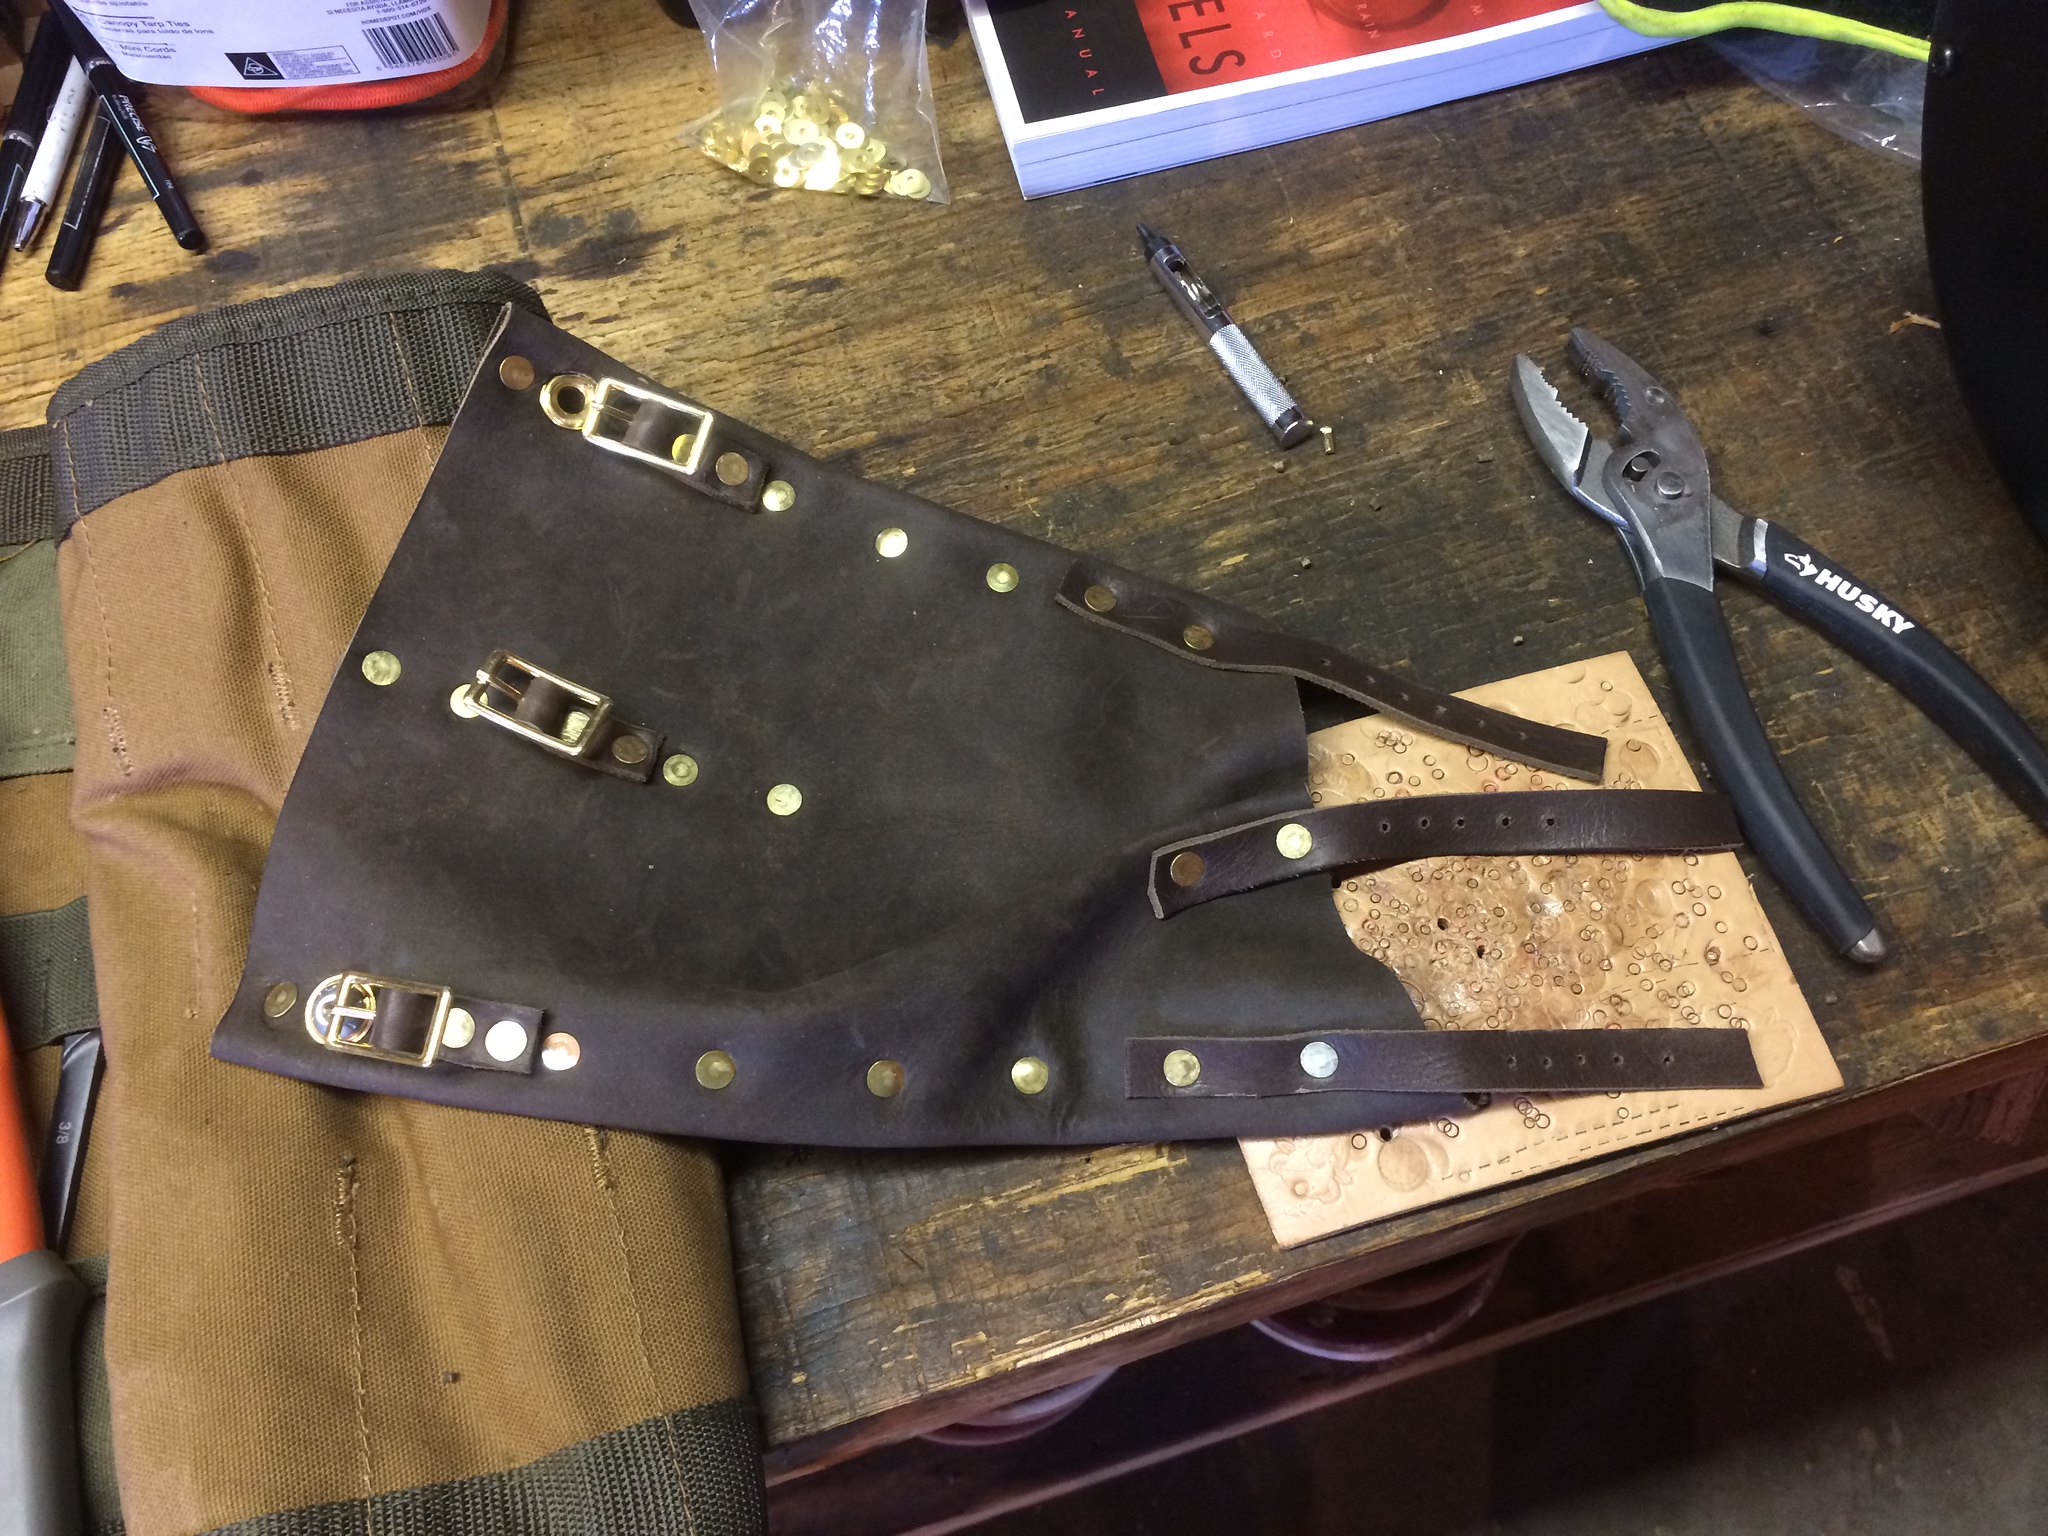
With the first boot properly resized, it was time to start hammering and snipping the brass rivets. Since I wasn't sure how the leather would wrap, I held off on the last few and fit it to the forks before proceeding:
I also realised I was going to need some leather re-enforcing for the middle buckle, as the oilskin cowhide was too thin for that. Fortunately, I had some thicker buffalo hide scraps from another project I'm working on:

Here's how I decided to do the buckle attachments:
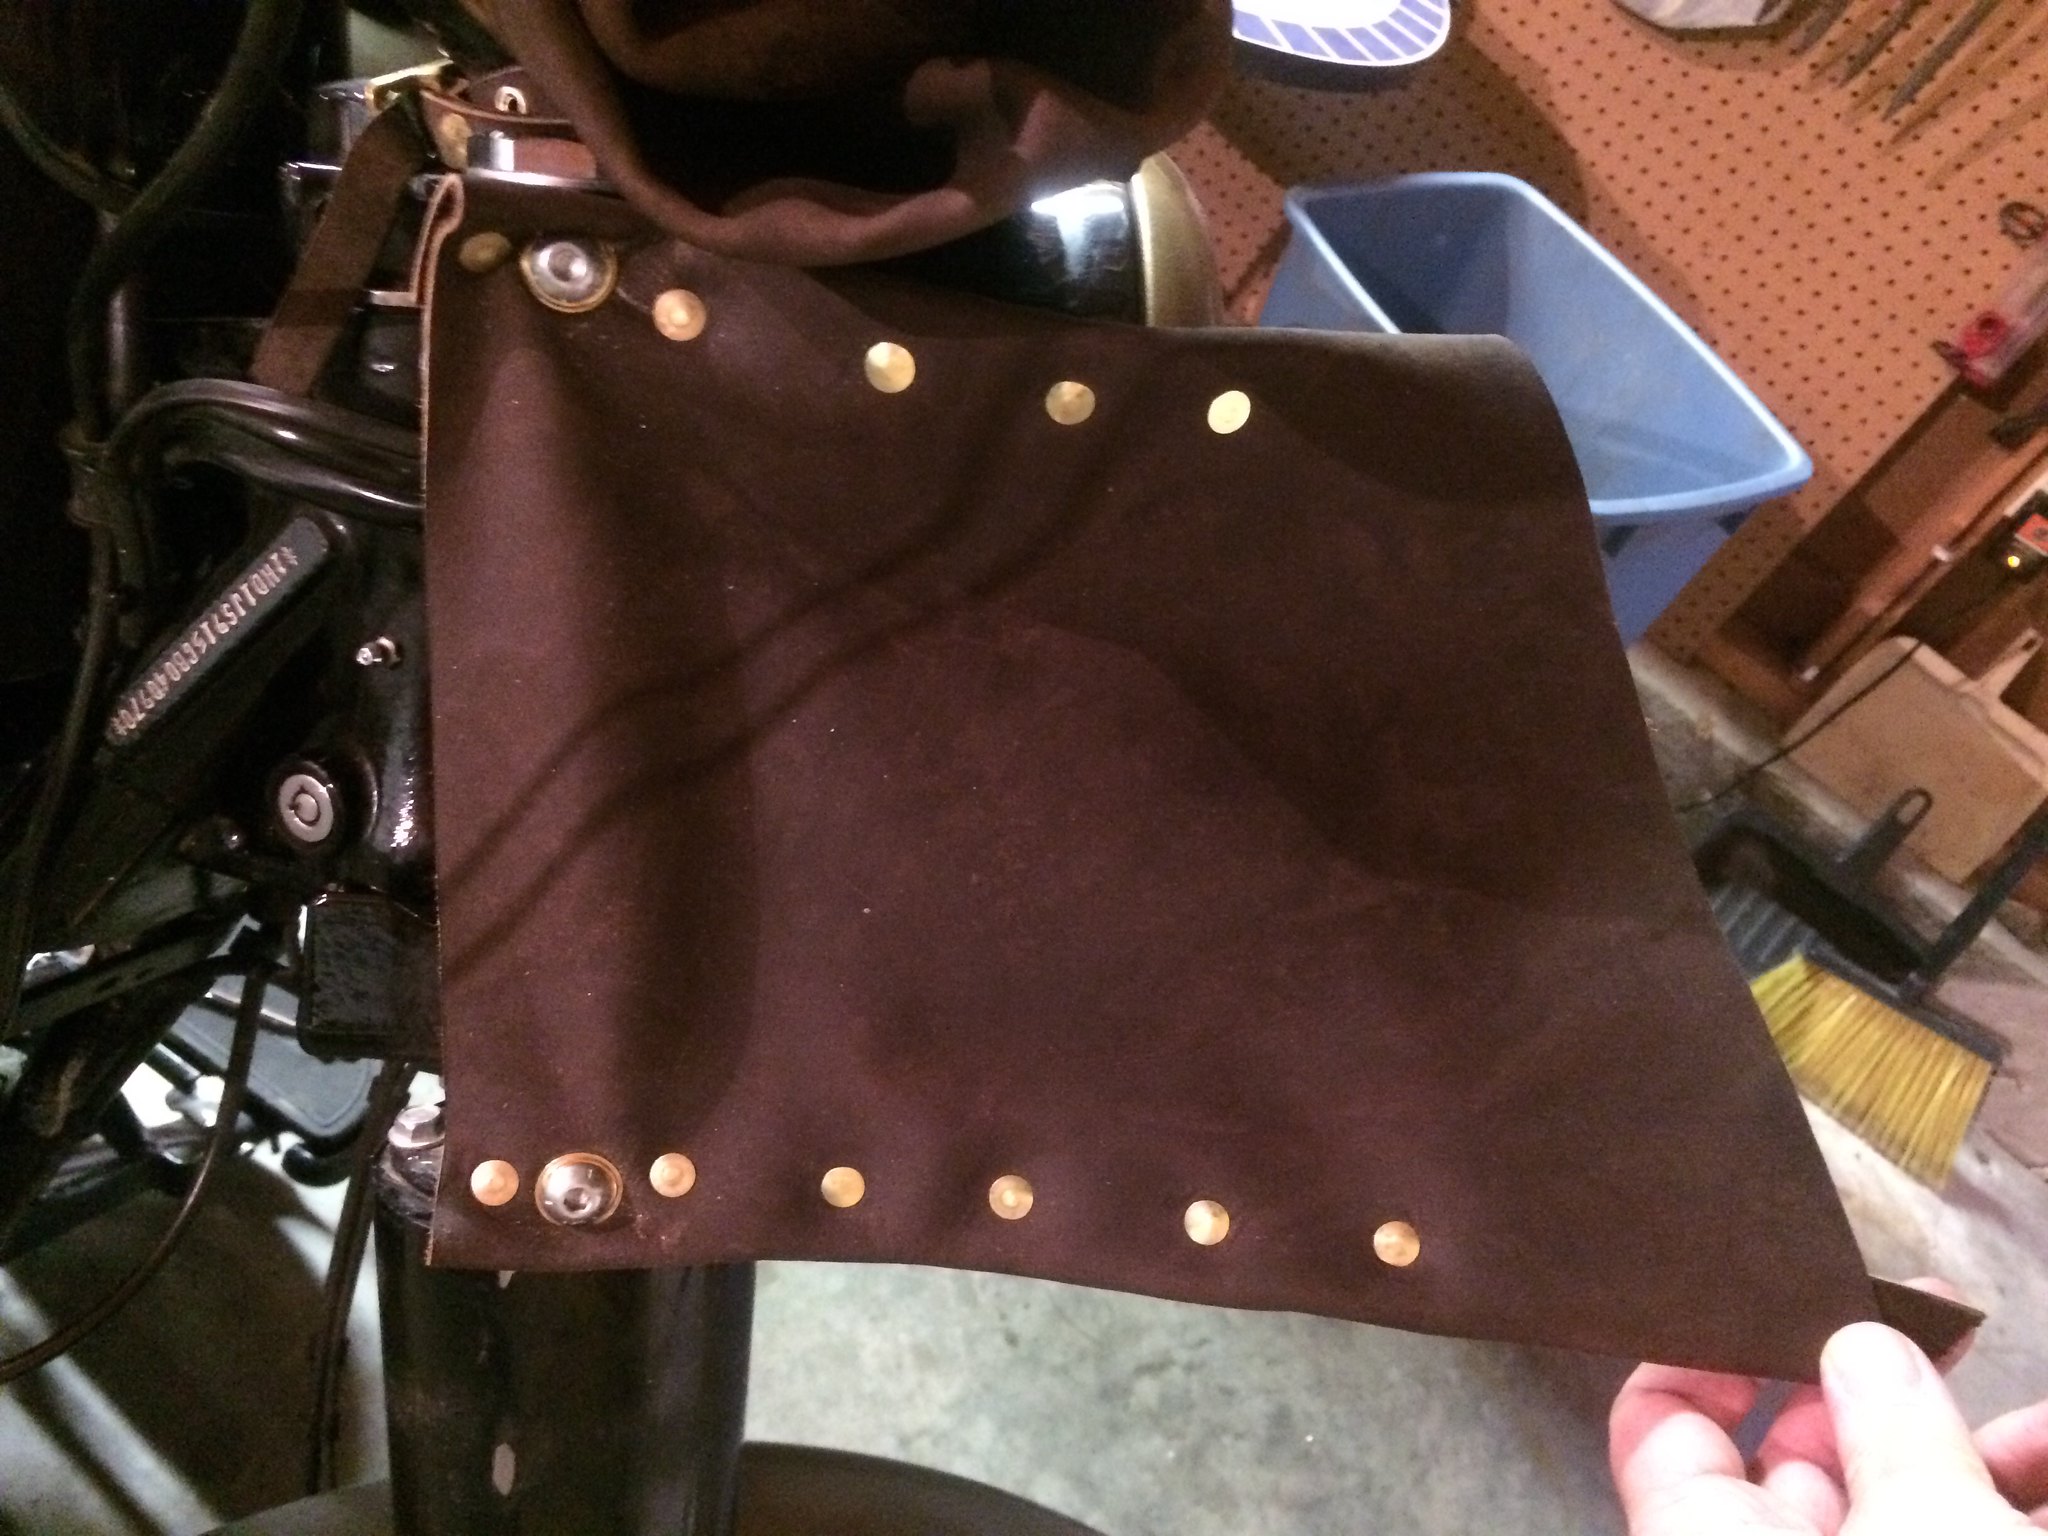
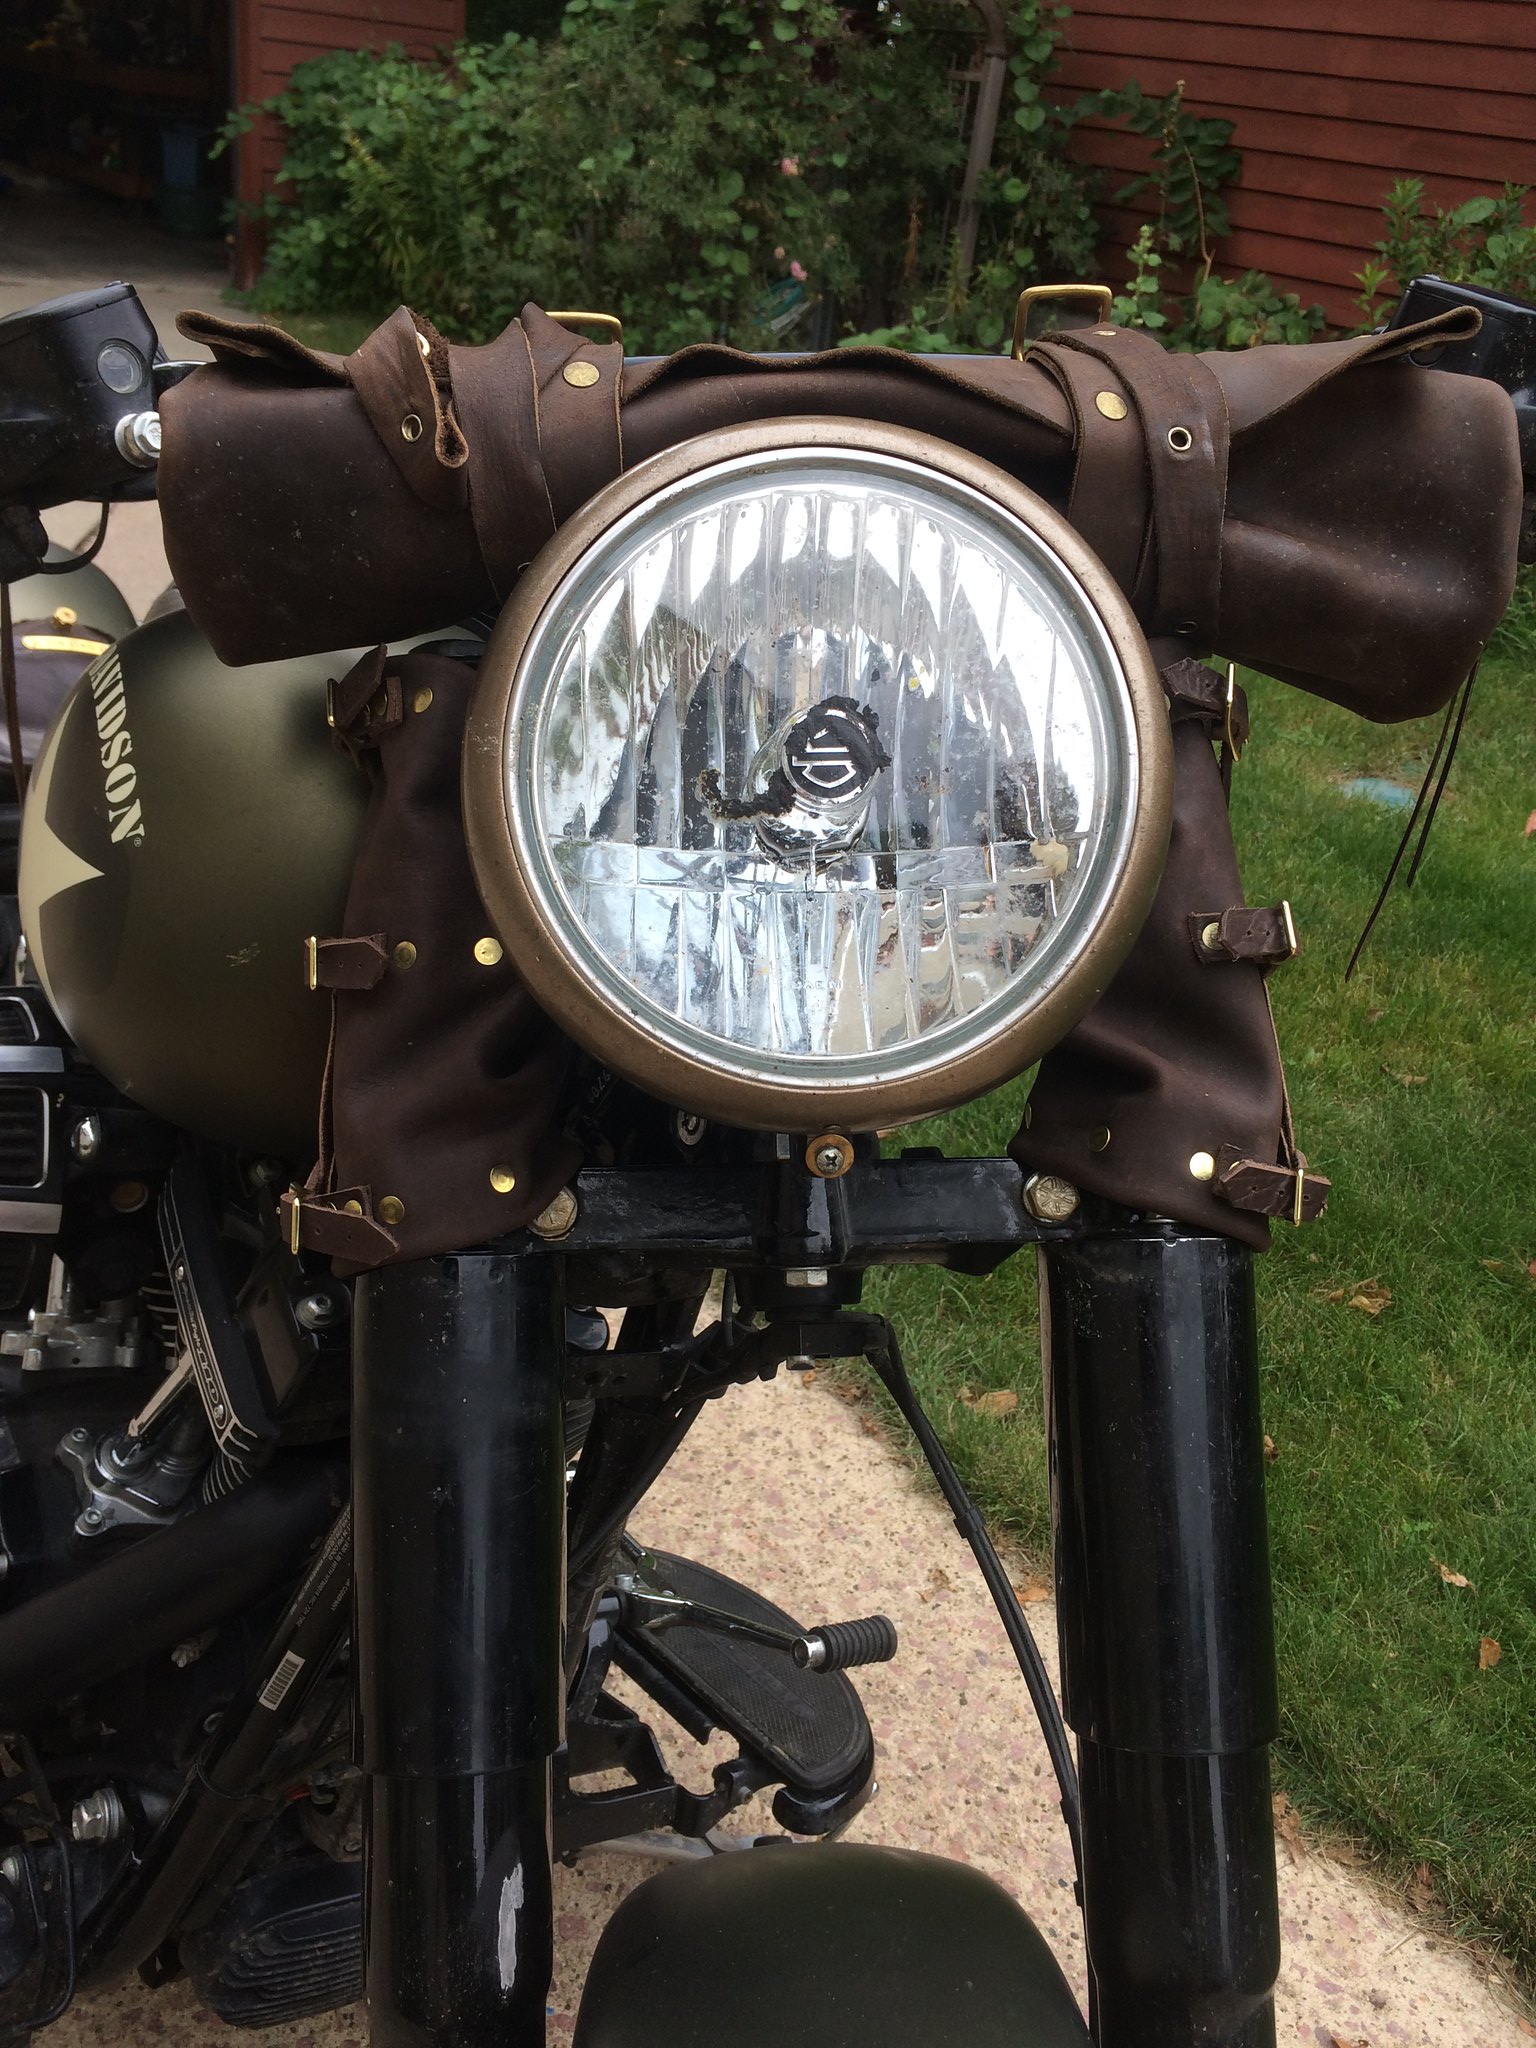
And here are some shots of the completed right forkboot, outside and inside:
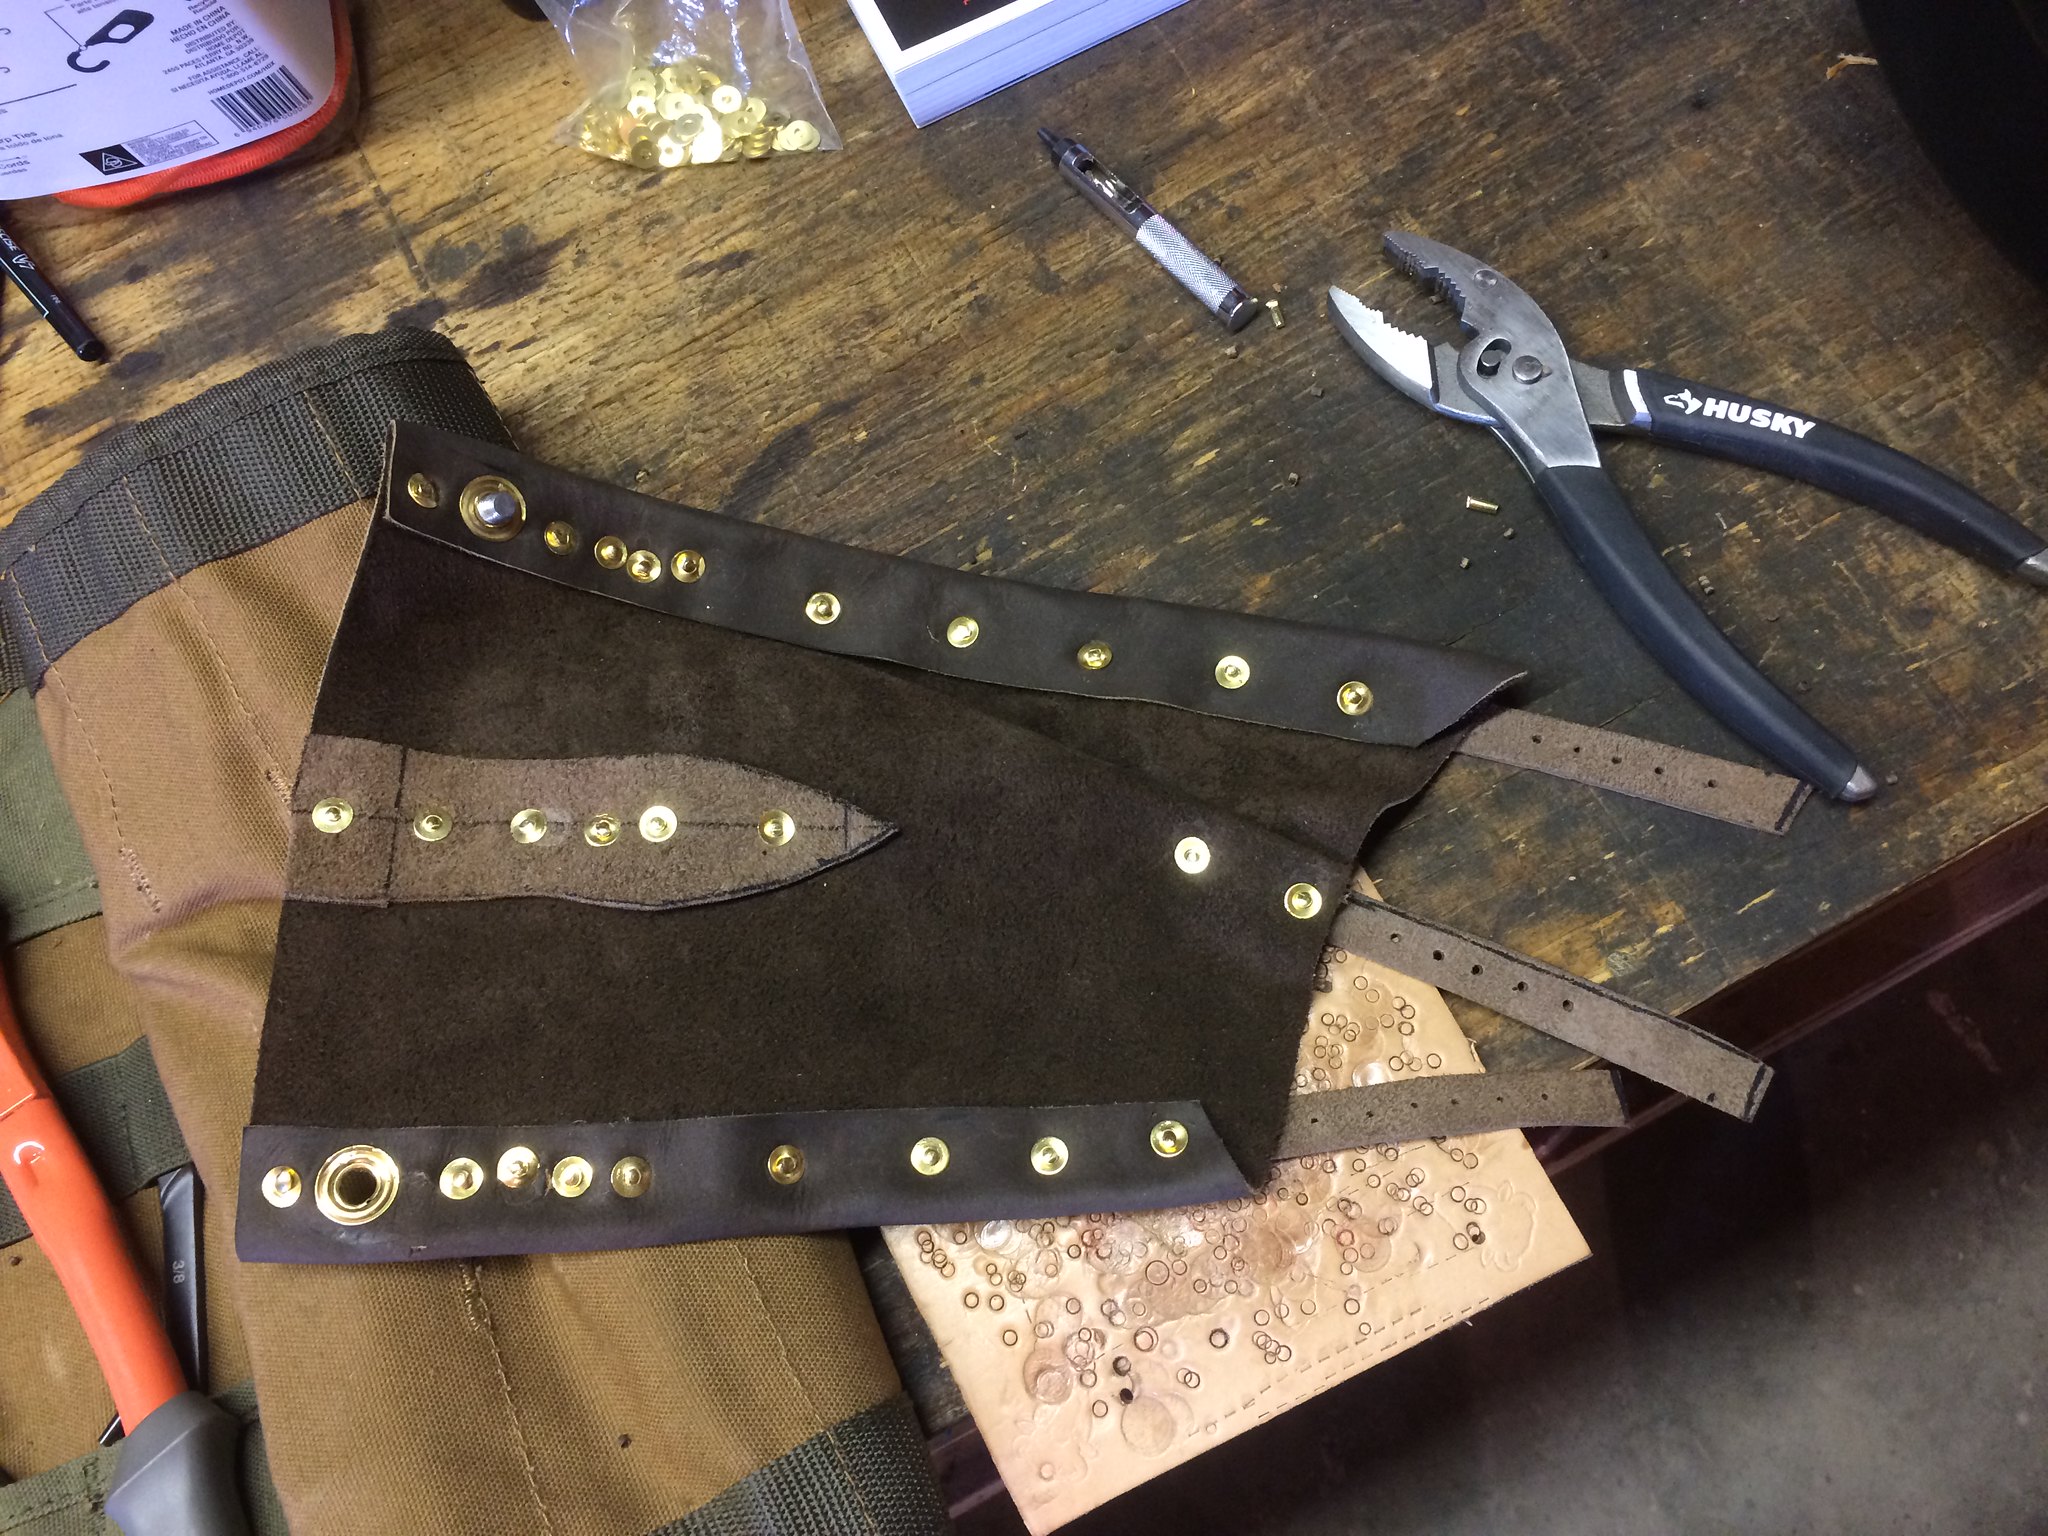
There were two difficulties I encountered during assembly:
- The grommets I used to house the screws (and protect the leather with a wider whole: more distributed/less-cutting when stressed) were a hair too small for the screws; this required drilling through the centre of the grommet to shave off just enough to get the screw through. As this was a little trickier than it sounds, workbench acrobatics ensued.
- The oilskin leather is slippery, but that hadn't been an issue for me in the past, because I only ever did two layers at a time for any given rivet. For the forkboots, however, I needed to go through three layers, some of that being two layers of buffalo hide. I had several bent and slipped rivets until I found a solution that worked: hammer on the steel anvil and do so with care, ensuring that each strike was consistent with the previous one. Getting the riveter positioned around the tight spaces of the buckles made this even more difficult.
Attachment
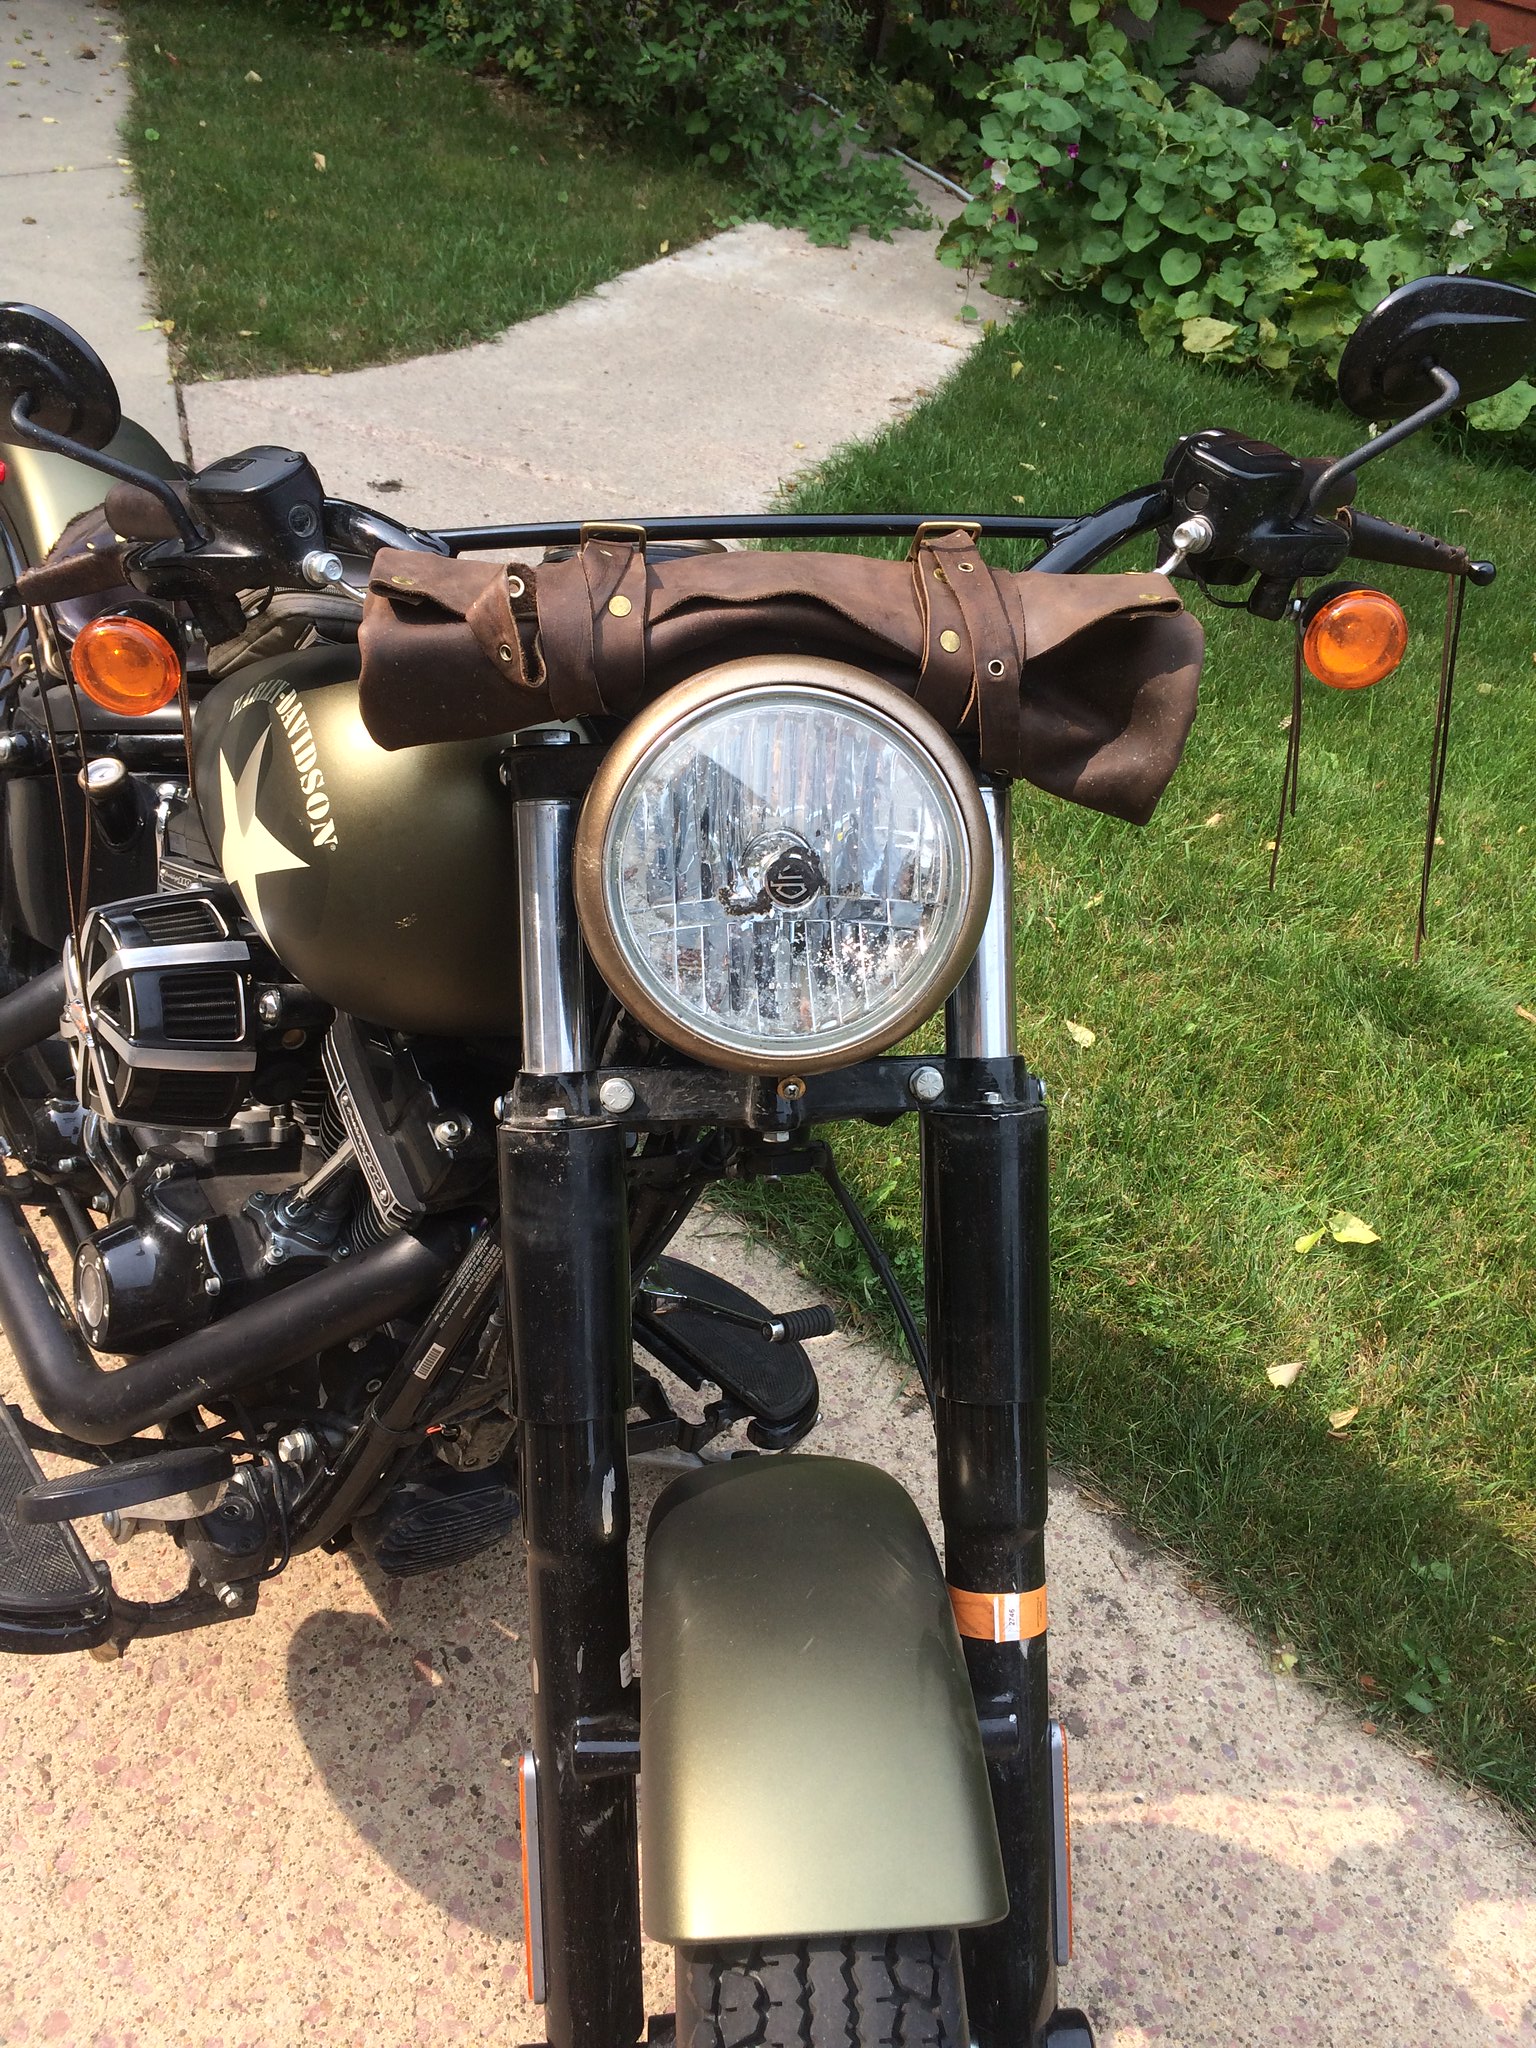
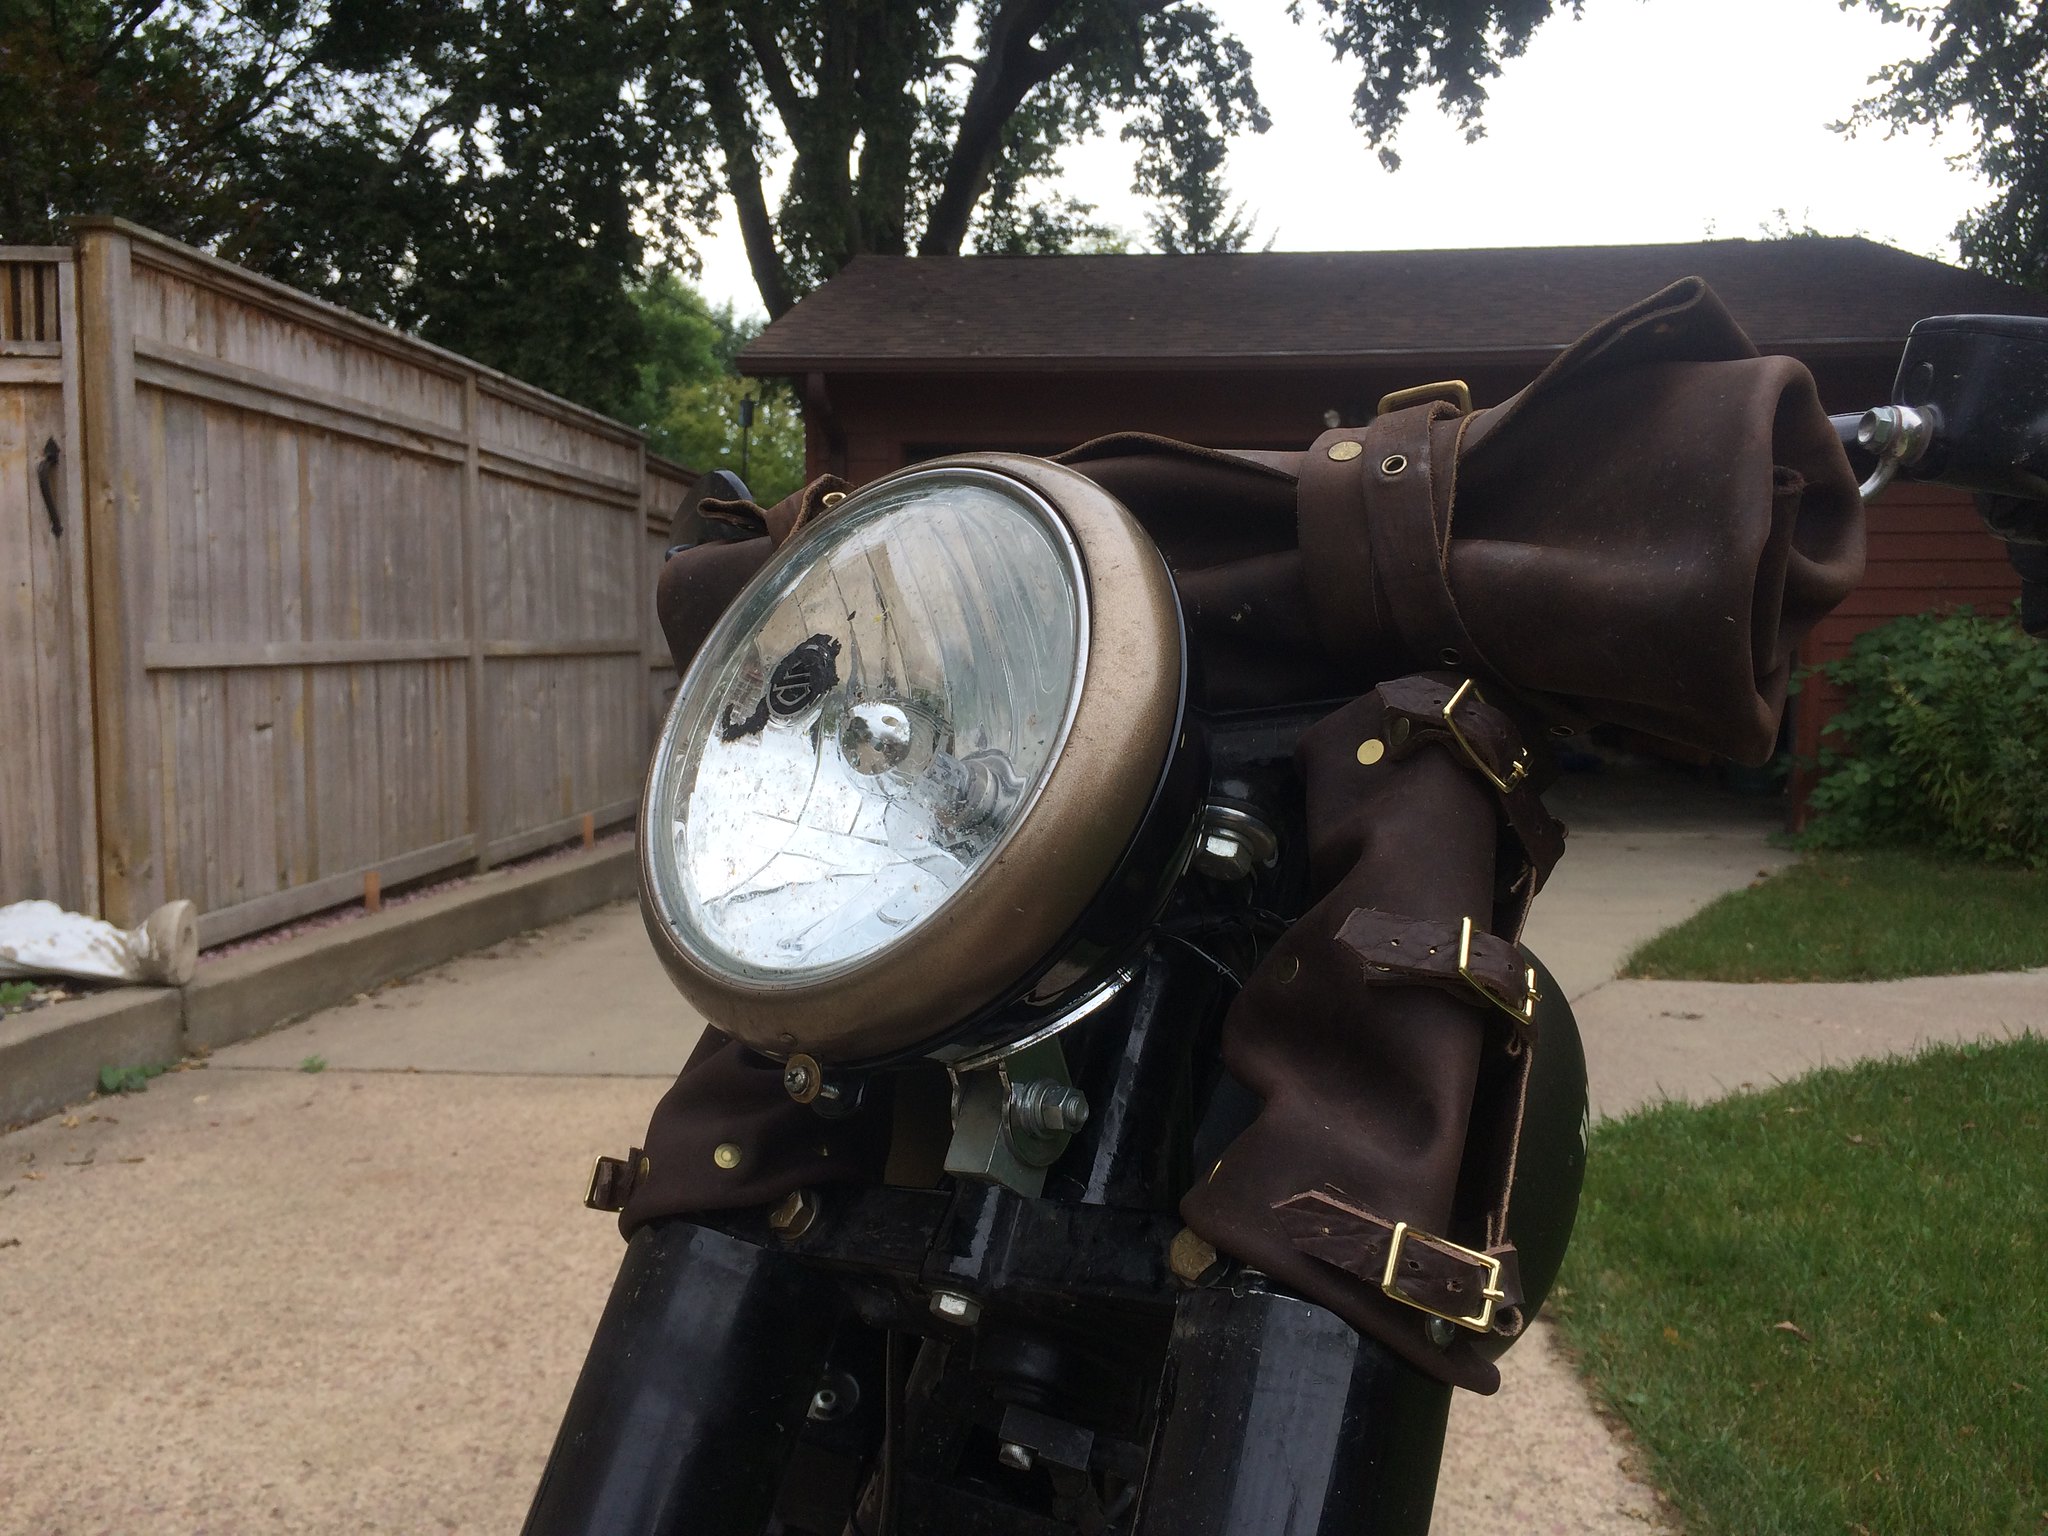
With the boots completed, it was time to start attaching them:


All together now:
The complete set of pictures for this project are available in an album here, on Flickr:
- Hand-crafted Leather Fork Boots (32 photos)
Test Drive
It was necessary, of course, to then take the bike out for a ride. Preferably some nice dirt roads with lots of expansive views of open farmland and prairie.
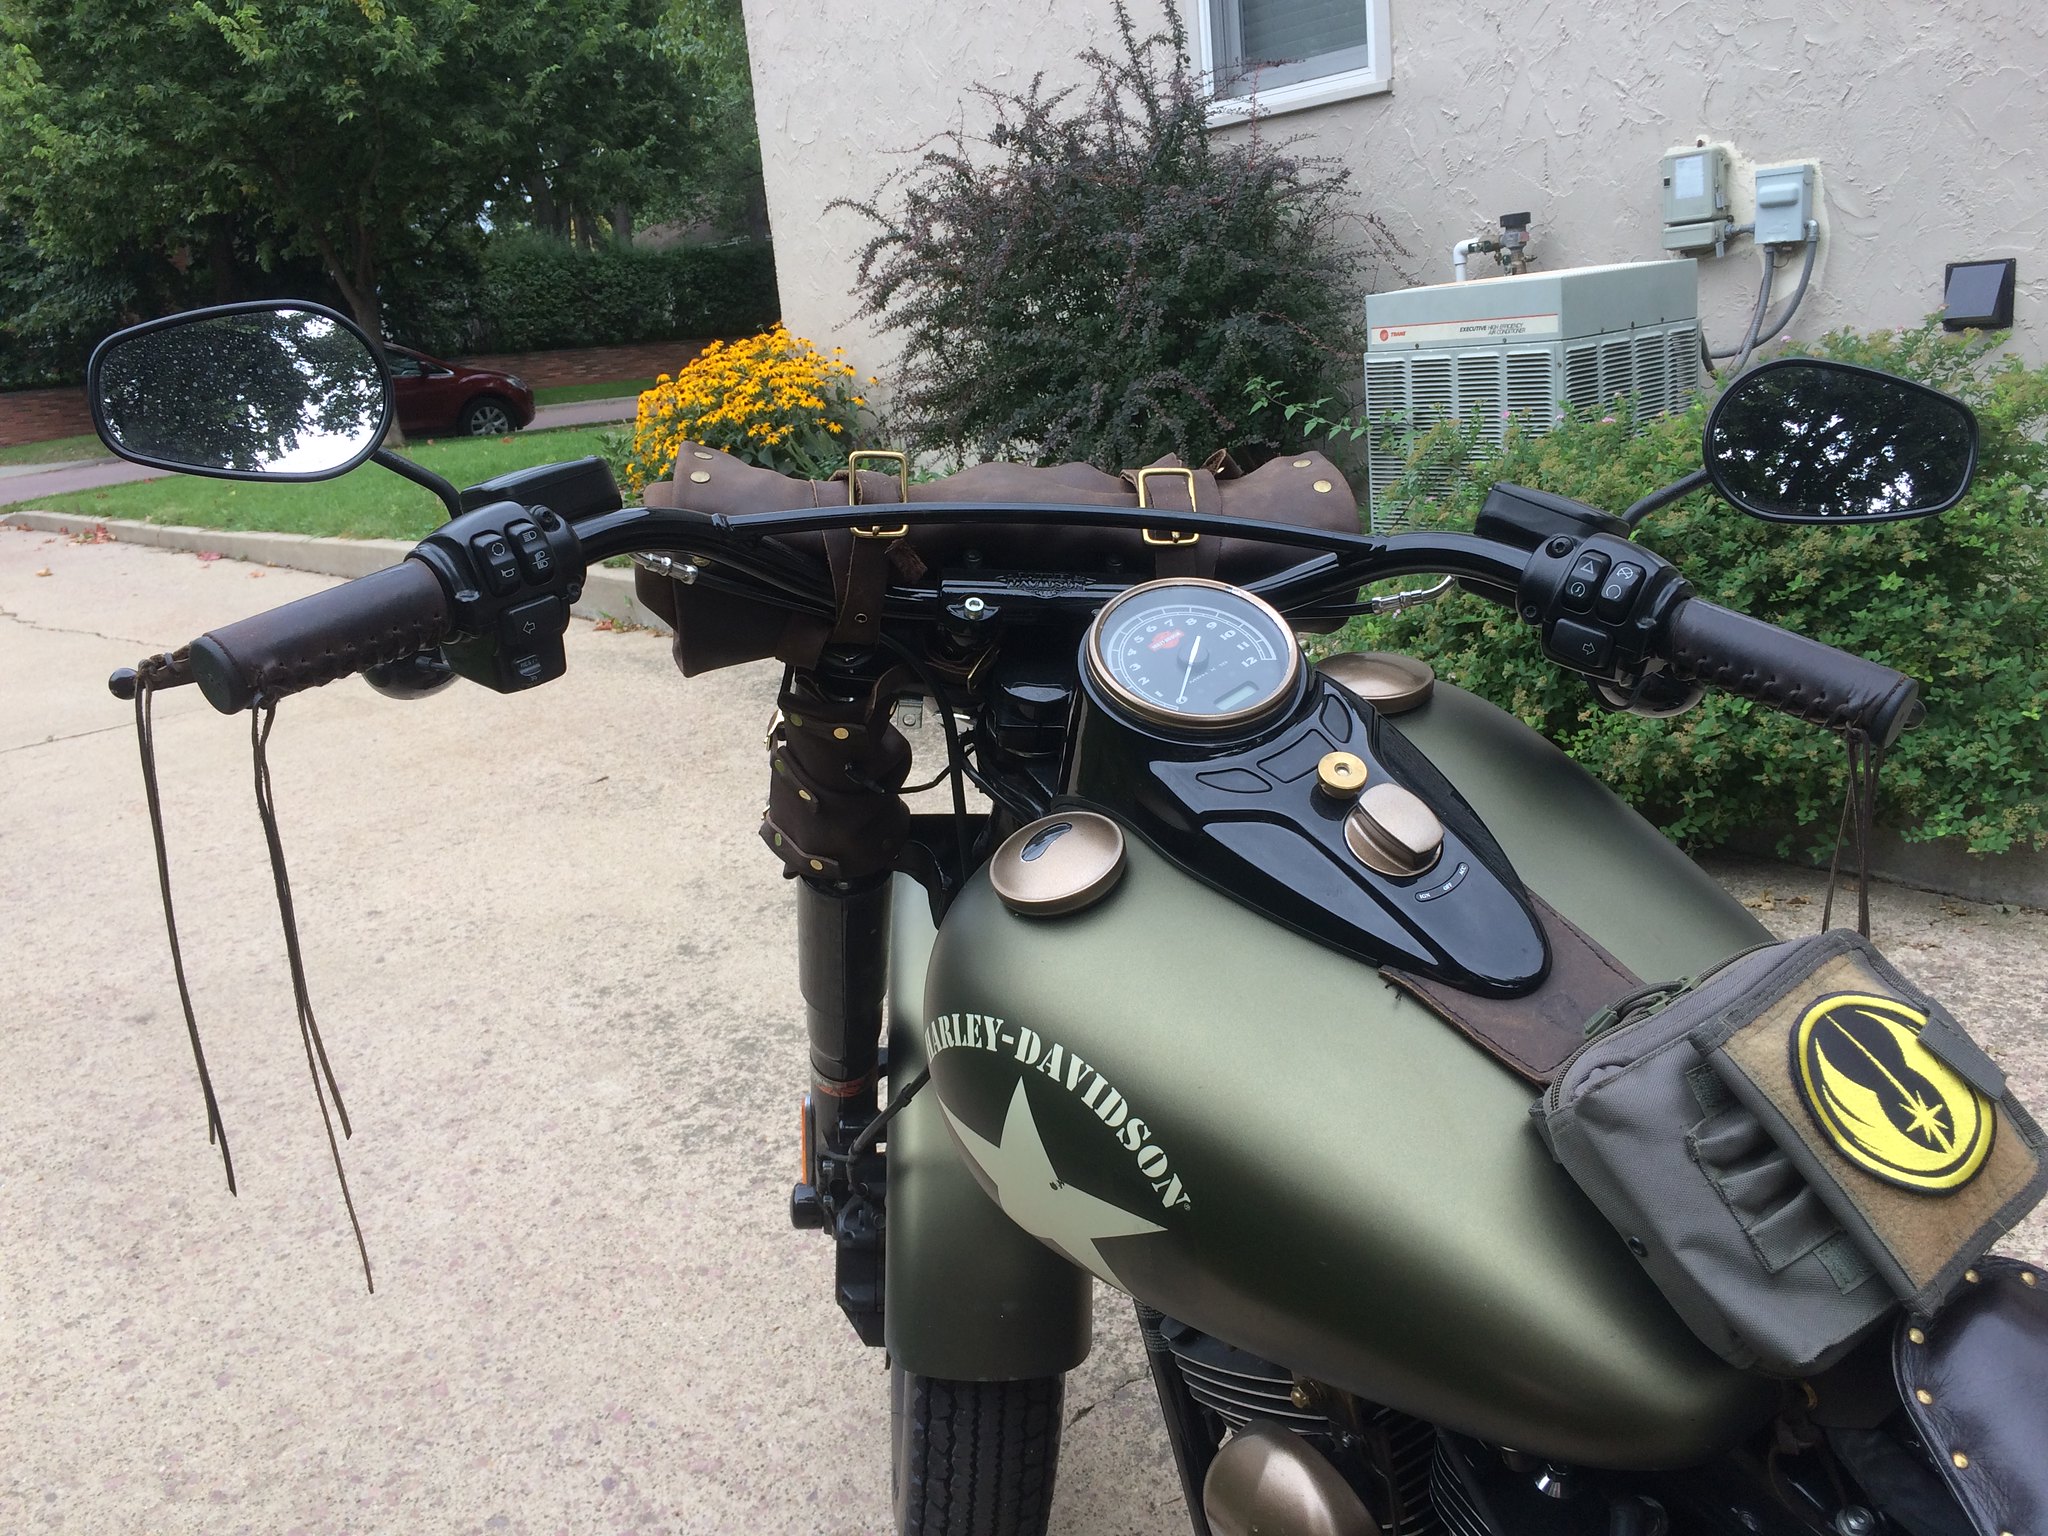
So that's what we did :-) 🛣